Page 9 of 10
Re: Next bike project
Posted: Mon Feb 11, 2013 11:01 pm
by Fred Camper
Ray will ride it, that is exactly what the bike was made for and they do it well. Even riding it, it will be looking great in 30 years.
Re: Next bike project
Posted: Sat Feb 16, 2013 5:46 am
by luludog
Thanks Fred.
--------------------------
updates...
I had originally routed the cable from the starter up through the side of the engine and up to the solenoid.
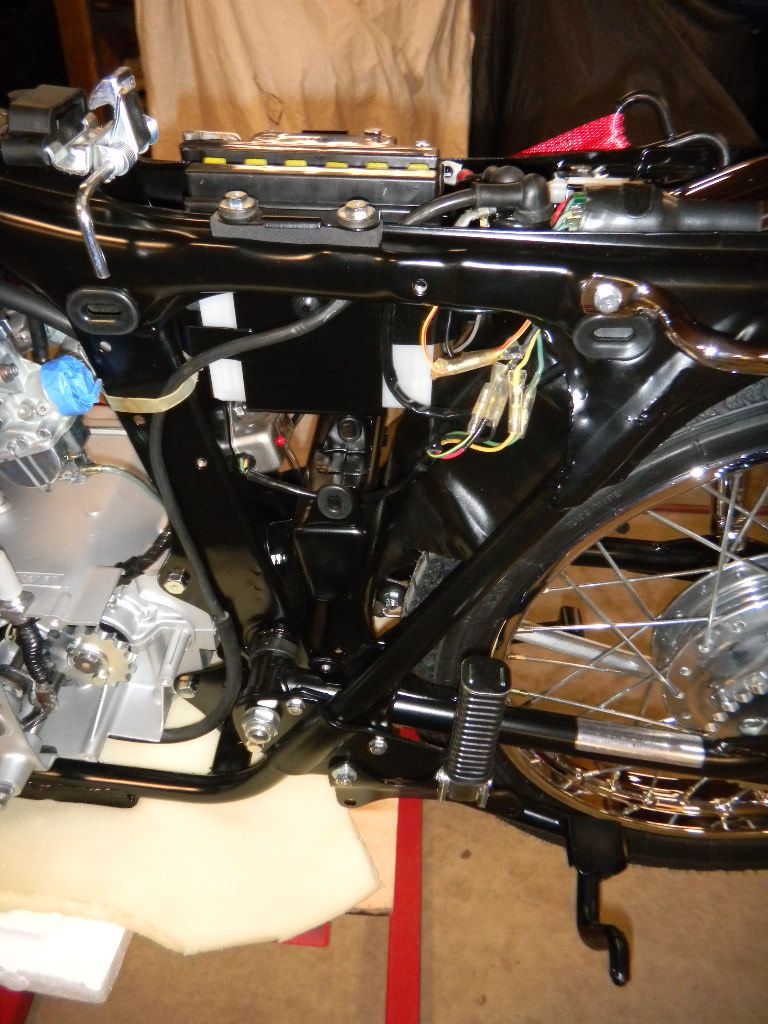
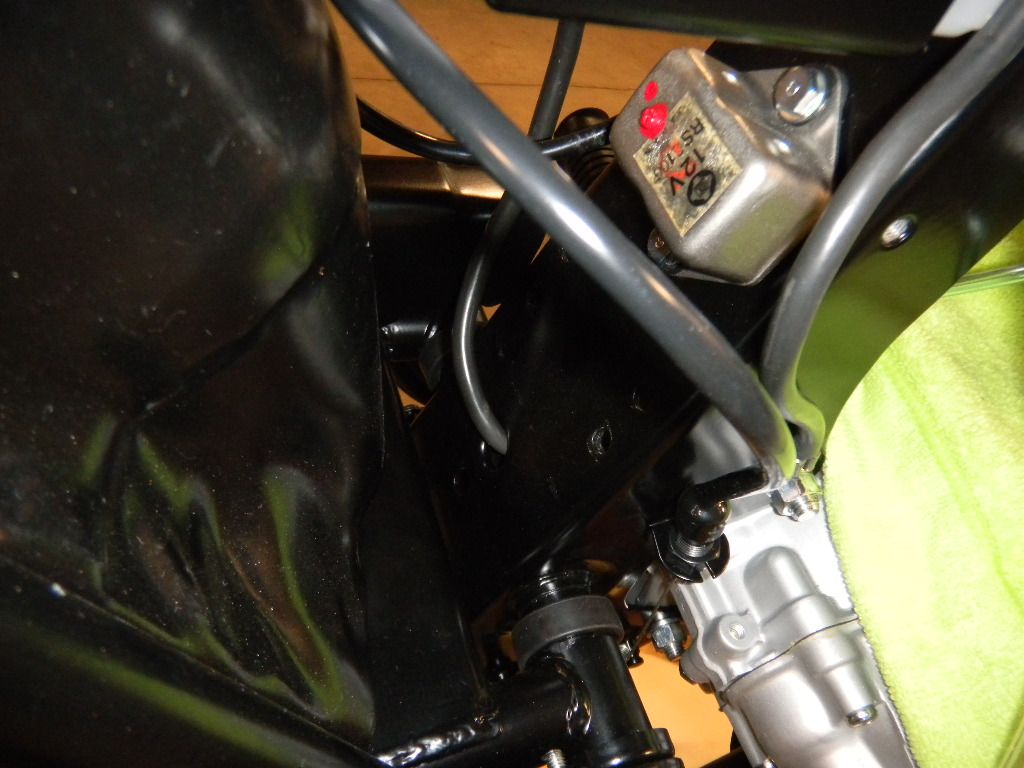
Didn't look right so I went on a photo hunt to see if I had one that showed the routing before dis-assembly. Got lucky and found a couple that I could magnify. Ends up the correct route is behind the engine, then up through a hole in the center frame member (tool box removed)

Shot from the other side
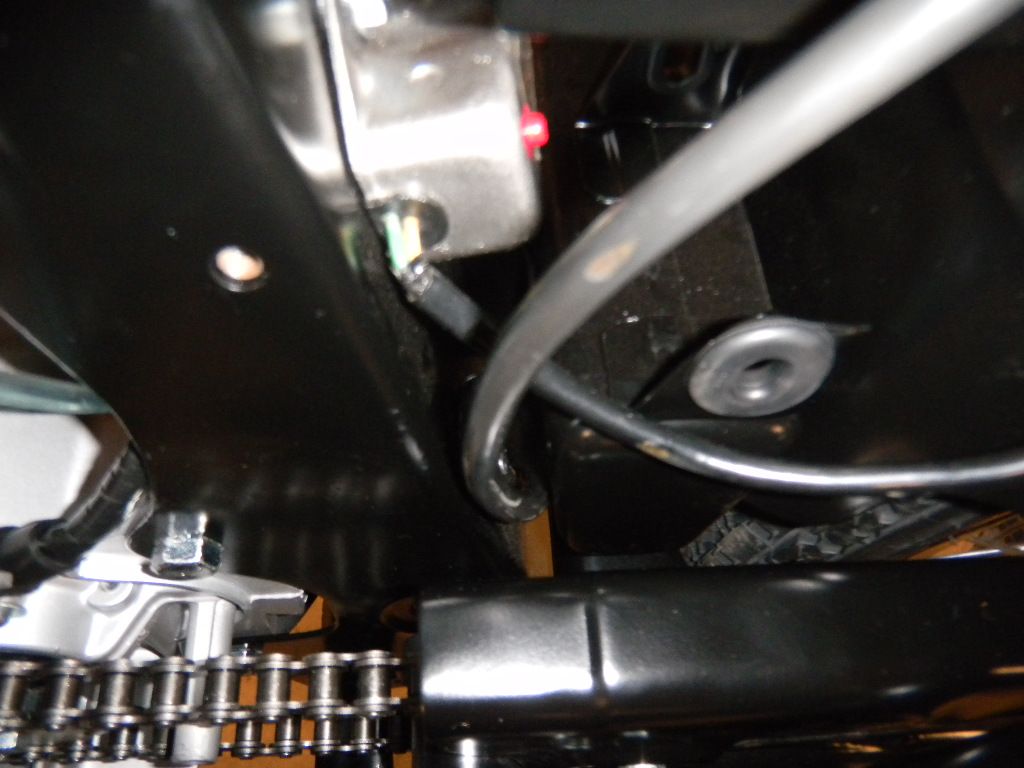
View from underneath

Tool box re-installed. The two bolts took a while to get in.
Left air filter
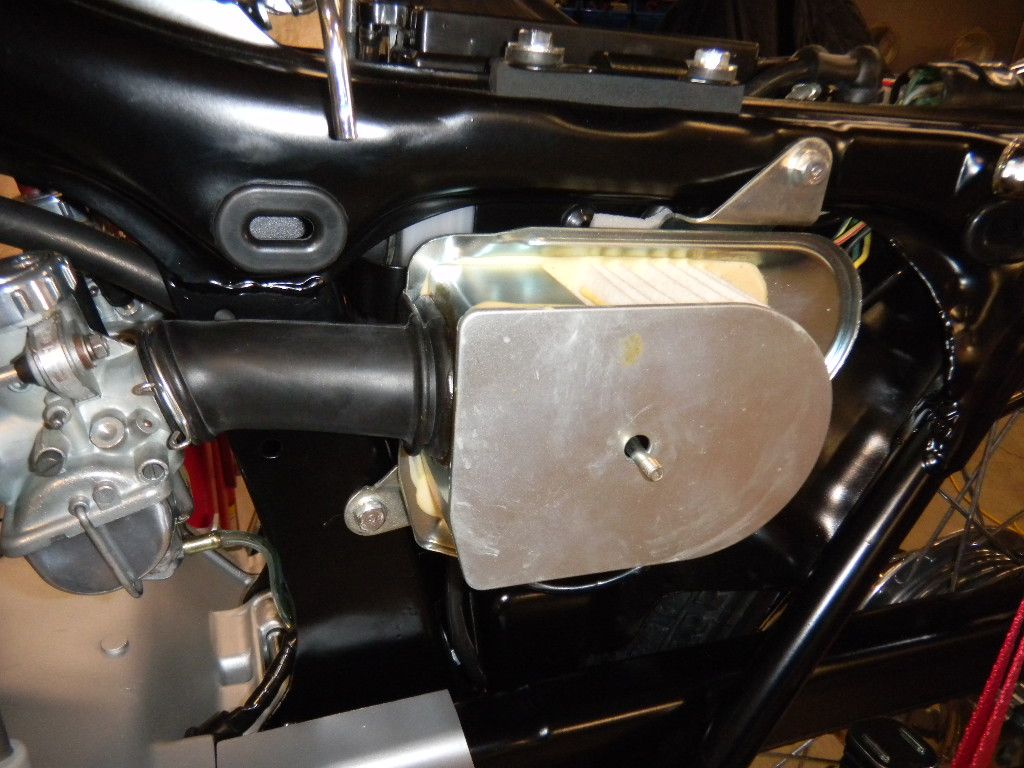
Right
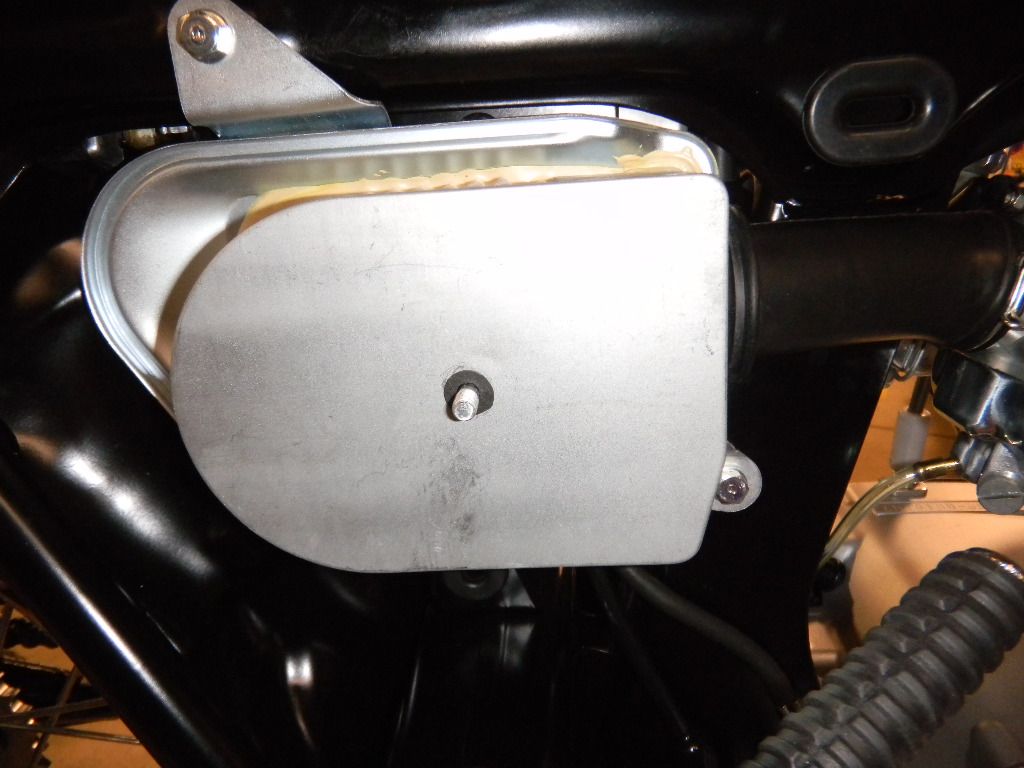
Seal that needs to go on before the outer cover

Cover in place

Chain cover, side stand and foot pegs in place

Re: Next bike project
Posted: Sat Feb 16, 2013 7:39 am
by Easter
Man, it is hard to believe we are not looking at a brand new bike!
Re: Next bike project
Posted: Sat Feb 16, 2013 11:13 pm
by acemagneeto
I agree. The attention to detail is unmatched in anything I've seen. It looks better than new. Amazing!
Re: Next bike project
Posted: Sun Feb 17, 2013 8:48 pm
by Fred Camper
Ray knows how to make them just a bit better than new.
Re: Next bike project
Posted: Mon Feb 25, 2013 6:23 am
by luludog
Thanks guys. Waiting for painted parts to come back. Shouldn't be long after that and the engine will breath life again

Re: Next bike project
Posted: Thu Mar 14, 2013 3:56 pm
by luludog
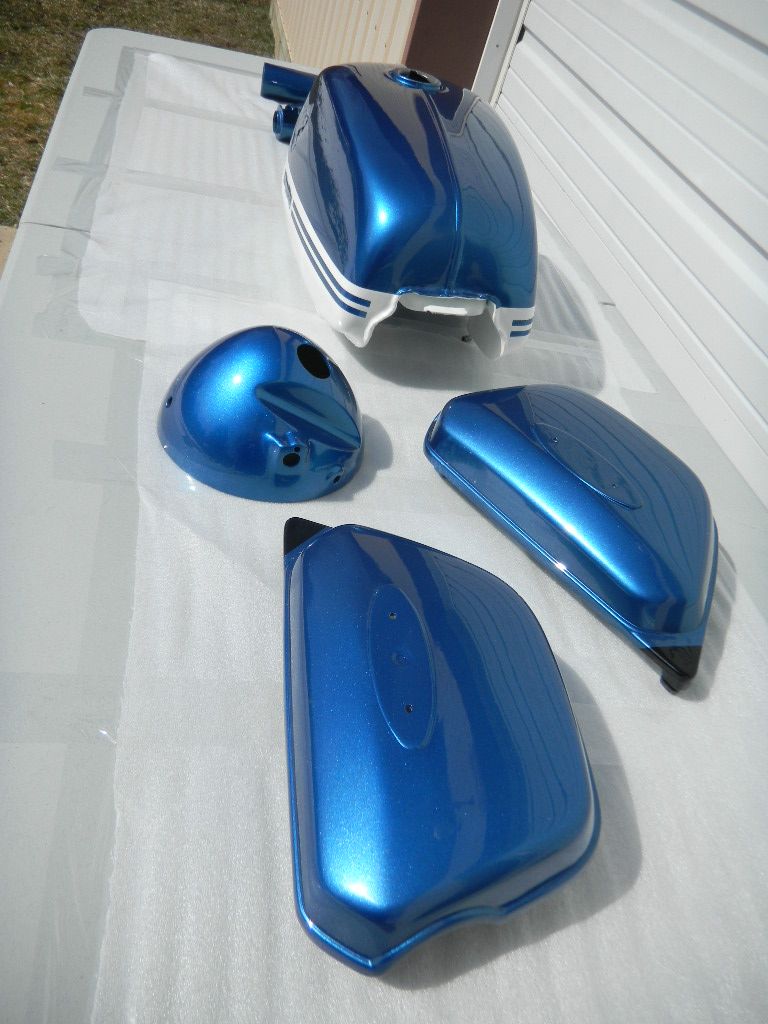
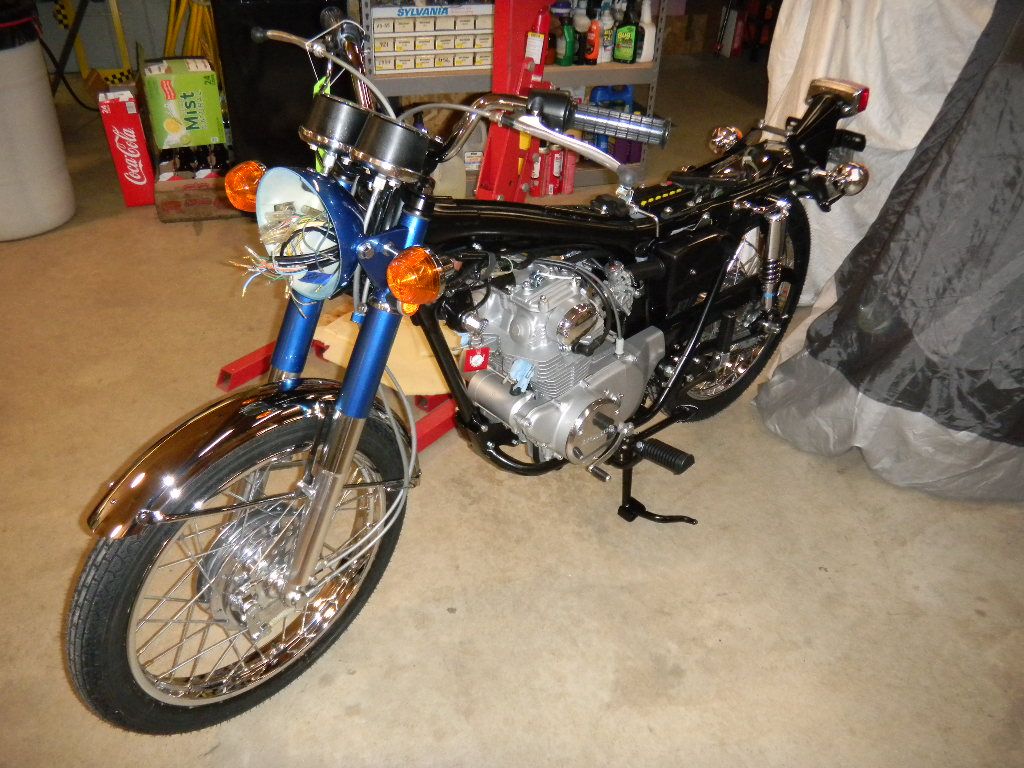
Painted parts are back, but the clear was shot last night, so they need to dry for a while. Sun is out, its about 42deg, out they went...
Kept the original color the bike came with. I really like it. From my research; Crystal Blue Metallic was only offered in the 1971 CB175K5.
Will get back on the bike in about a week. Hopefully finish it early April
Here's a few pics


Re: Next bike project
Posted: Thu Mar 14, 2013 11:26 pm
by Fred Camper
How could anyone not love that color combo, it is classic and I have no idea why it did not get used for at least 3 years.
Re: Next bike project
Posted: Fri Mar 15, 2013 1:40 am
by CFD132
I can not believe I had not seen this until tonight!

I must have been under a rock. Beautiful work on a great bike!

WOW! Ok, this makes me want to pack my mess up and head north...
Is there a waiting list?

I can't wait to see it completed!

Re: Next bike project
Posted: Tue Mar 19, 2013 7:04 pm
by luludog
Don't come up north... we just got 4" of snow and it looks like it won't get over 23deg tomorrow

As far as taking on projects for others: the '66 HD FLH was the last one (finally decided to take my retirement seriously).
----------------------------------
more updates
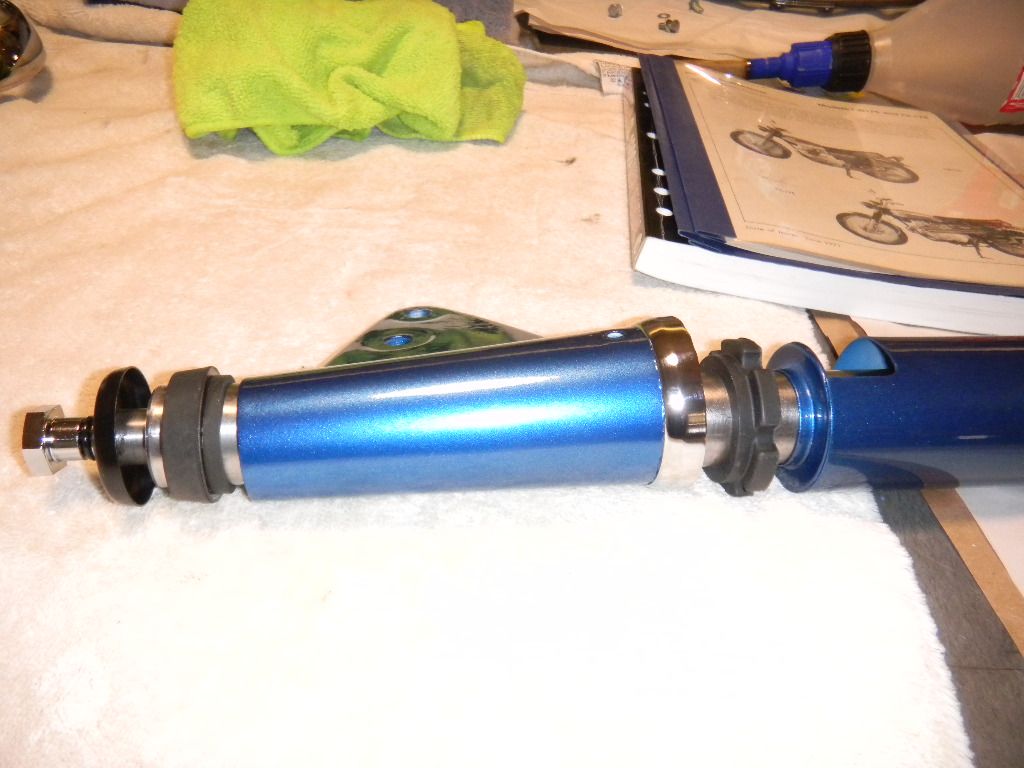
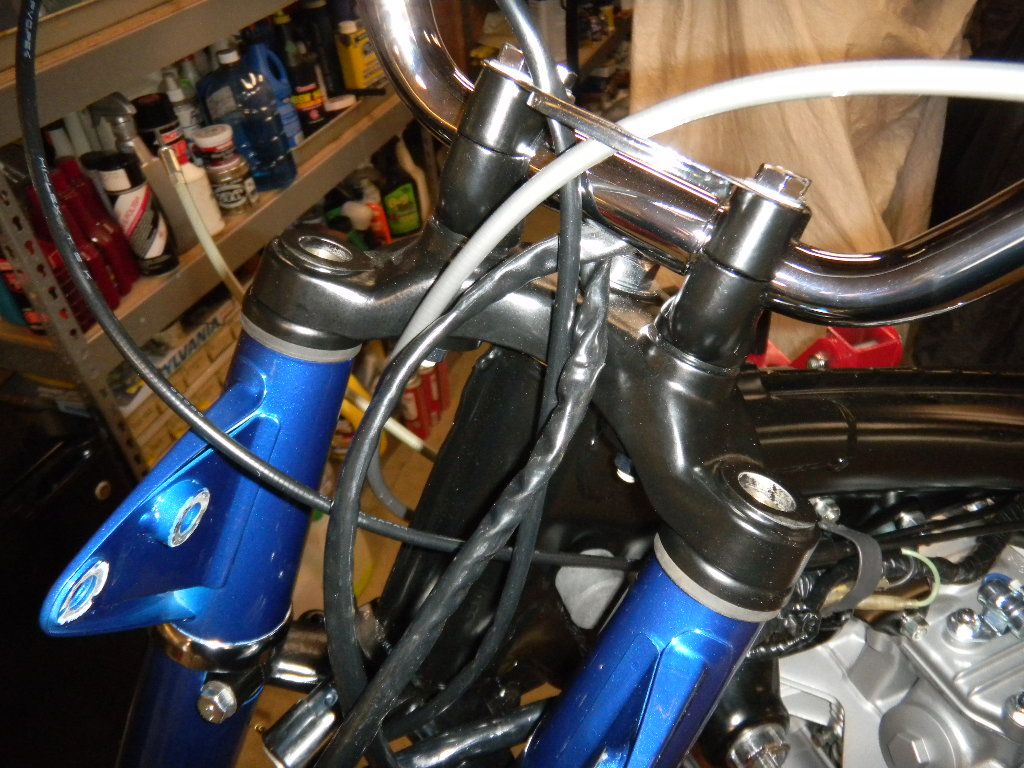
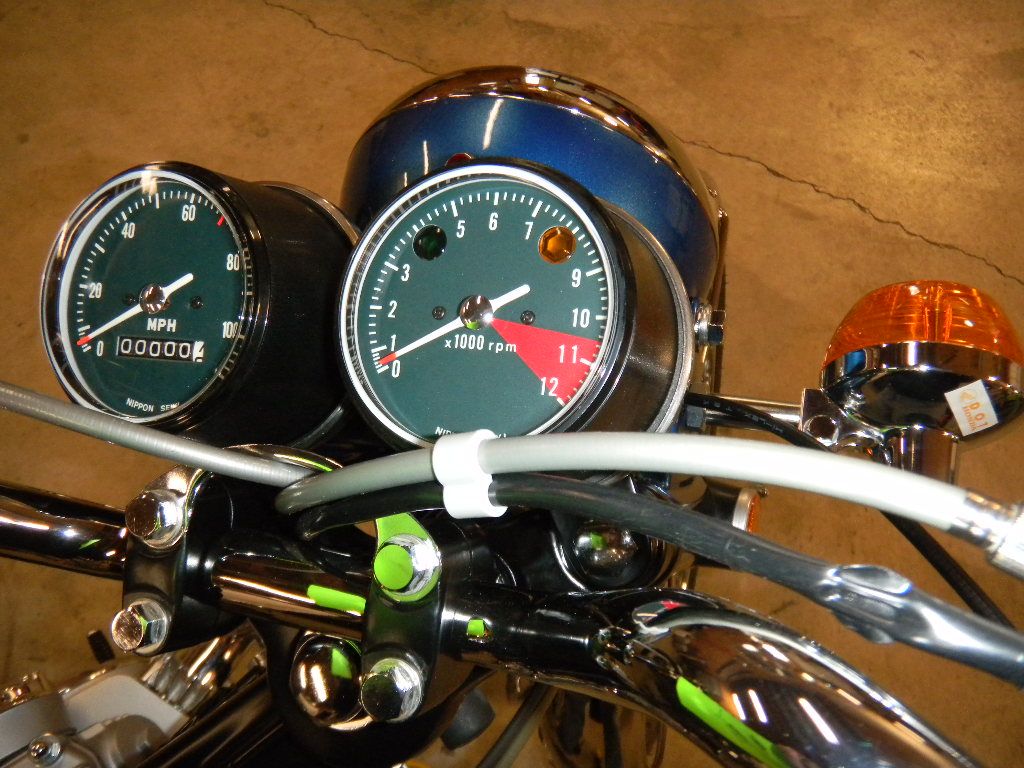
Front end. Pic of parts and how they go together
Sanded off the paint where the turn signal and headlight case attach
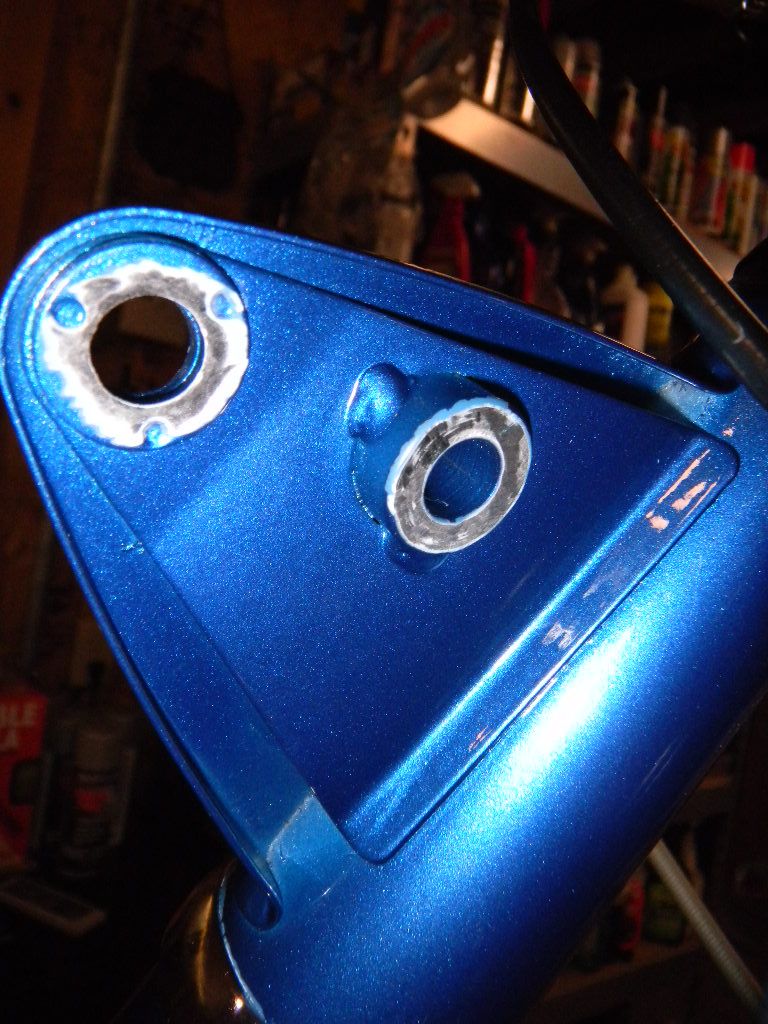
Double checked to make sure I had the left fork. Its the one that has the 6mm and 8mm threads (the right has two 6mm)

I left the top of the triple tree loose while installing the forks. Held them in place with the lower tree clamps.
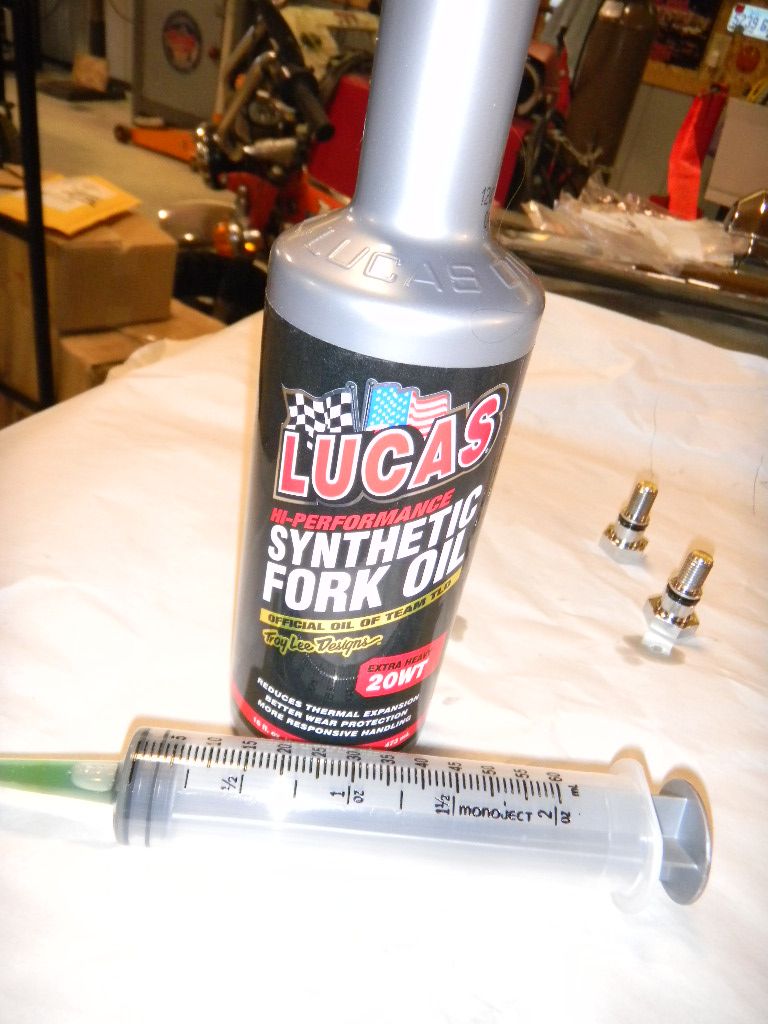
Time to fill the forks. I'm using a 20w oil. The syringe holds 2oz. Each fork will take 4.8oz

Screwed in the fork cap screws w/ new o-rings (just loose for now)
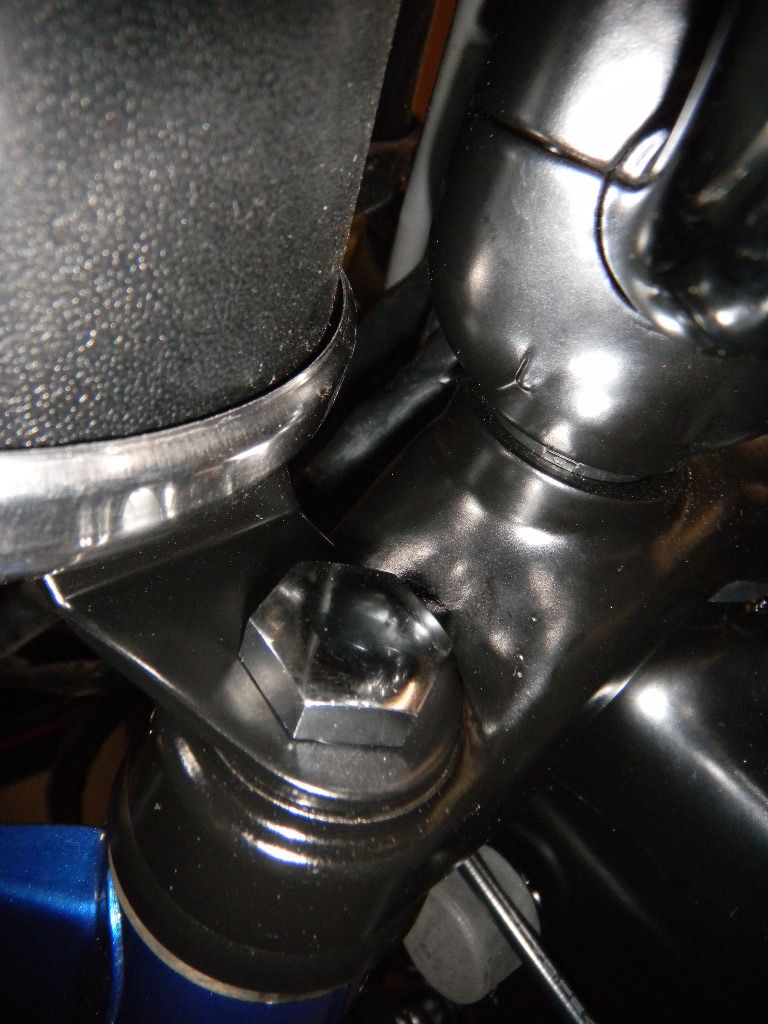
Now I loosened the two lower tree bolts

Tightened the two fork cap screws and then torqued the top triple tree nut (60ftlbs)

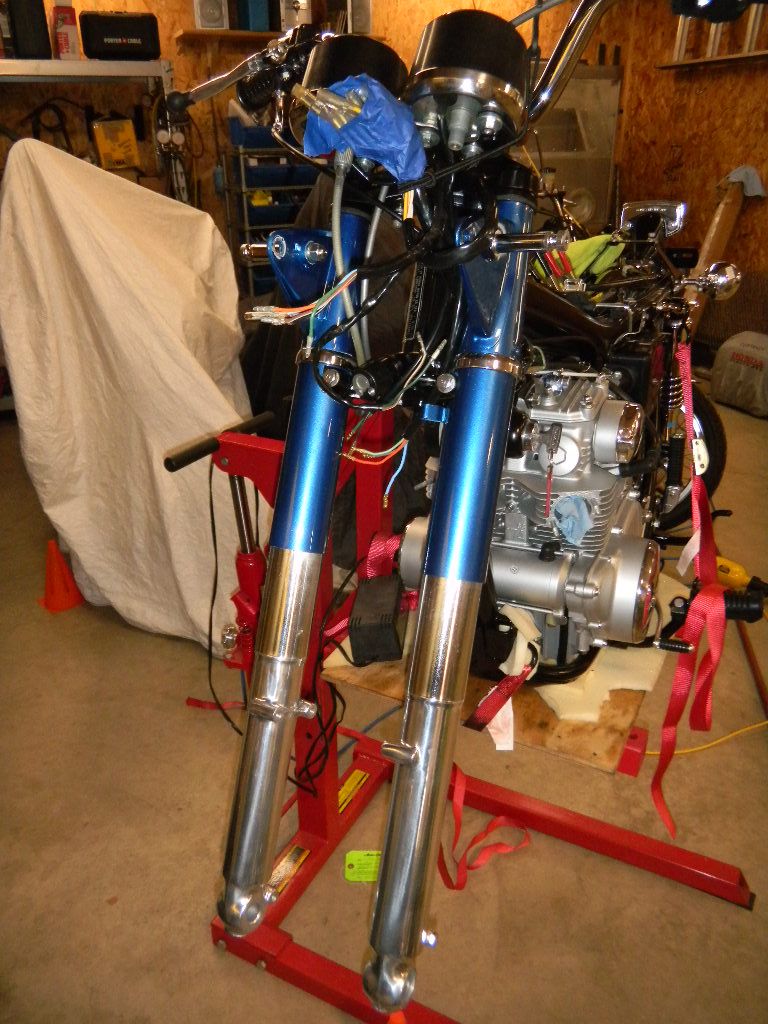
Starting to take shape :D
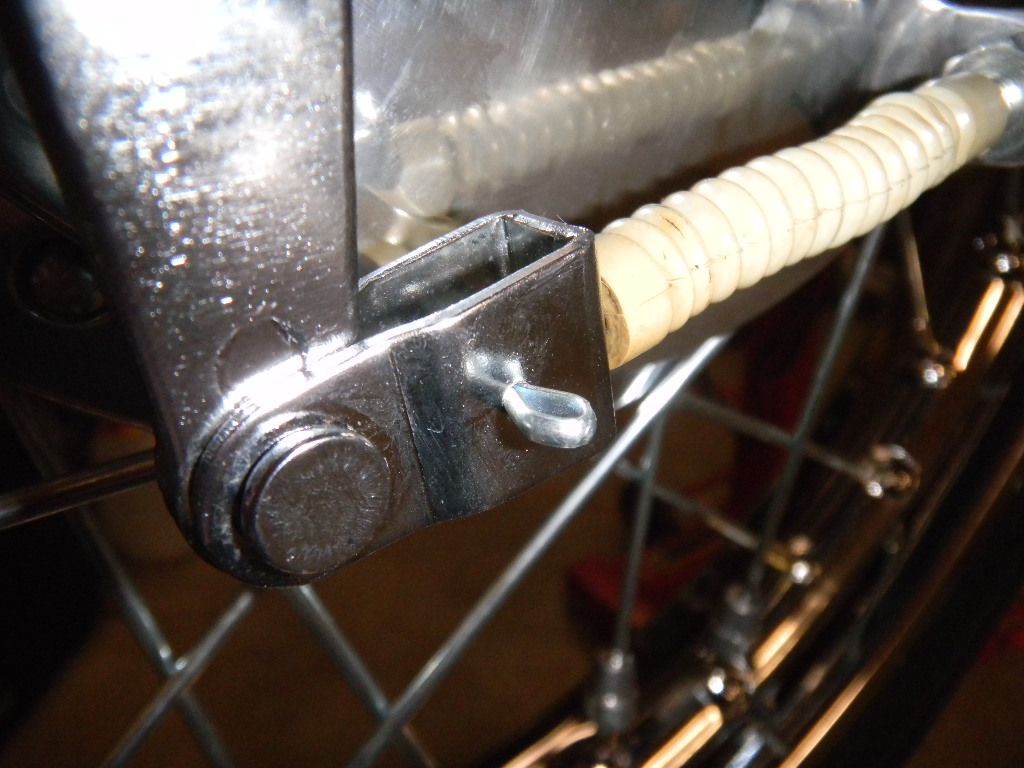
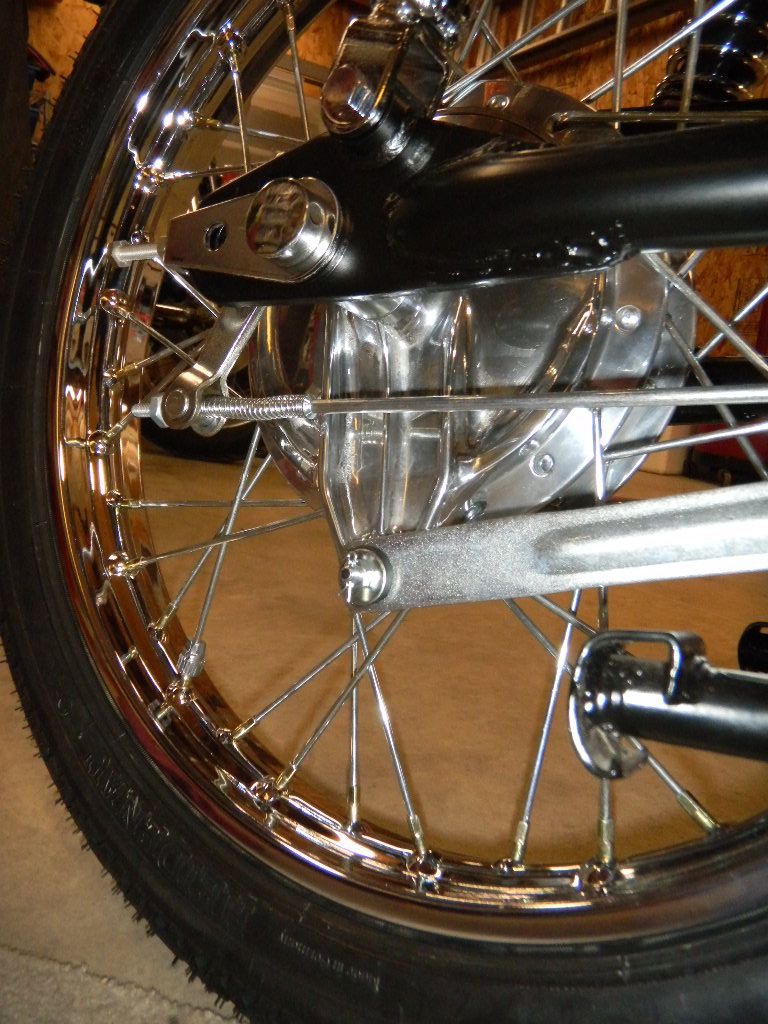
Fender was next. Brake strut had to be installed too. Detail shot to note the spacer, lock washer/keeper & bolt


Front axle detail

Front wheel in place
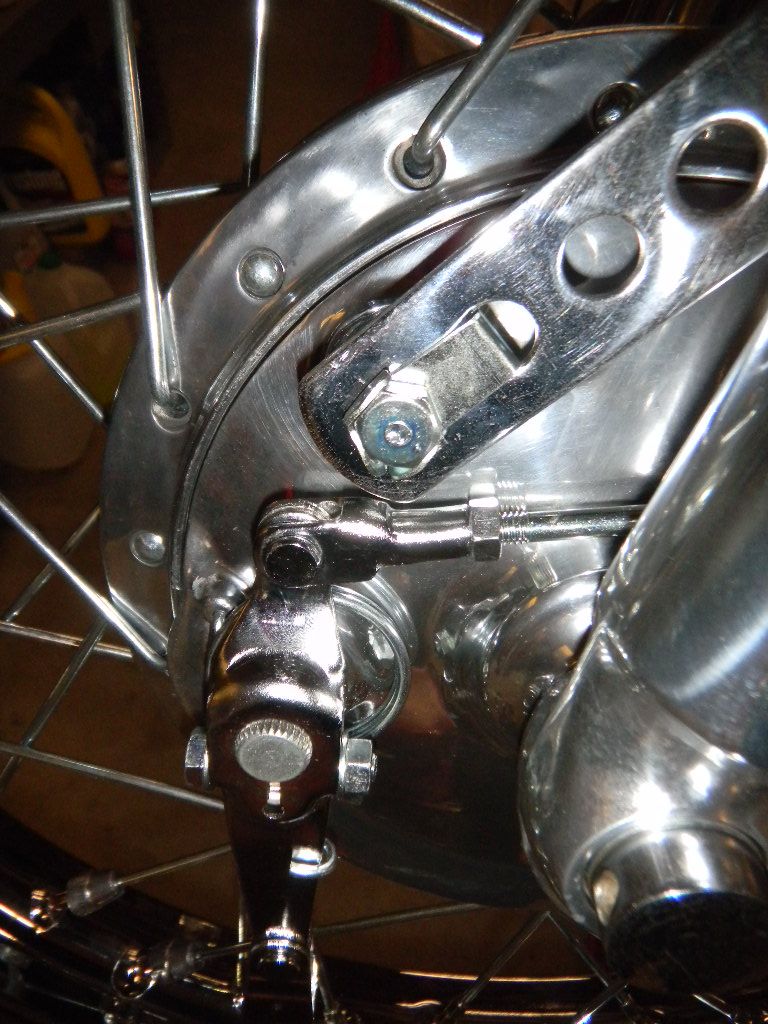
Speedo cable & brake cable installed. Here's a shot of the cotter pin that assures the cable won't come out.
Axle nut torqued, cotter pin installed

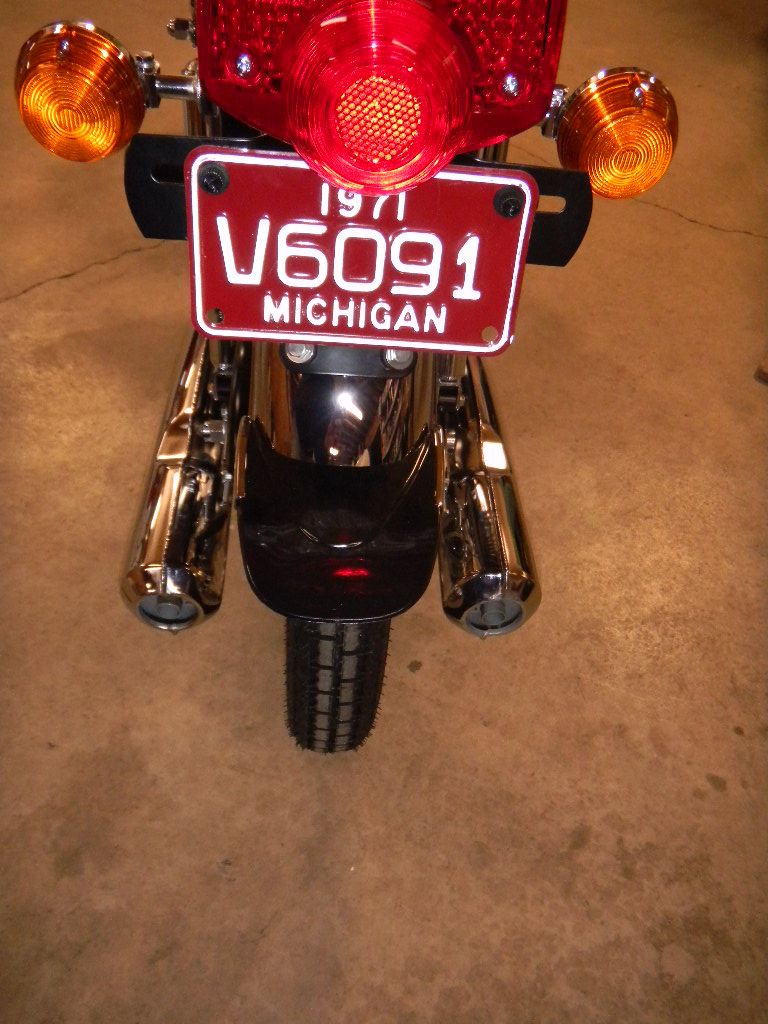
Misc

Re: Next bike project
Posted: Wed Mar 20, 2013 6:22 pm
by Easter
beautiful!
Re: Next bike project
Posted: Wed Mar 20, 2013 6:36 pm
by Bugdaddy66
Look at those wheels! I need sunglasses just to look at pictures.
Re: Next bike project
Posted: Thu Mar 21, 2013 10:32 am
by wingrider
Great job! It'll look better than new!
Re: Next bike project
Posted: Thu Mar 21, 2013 7:57 pm
by luludog
Thanks guys! I'm in the final stages
--------------------------------------------
more updates
Installed the brake pedal. Had to loosen the pinch bolts for the center stand to push the rod in a litttle
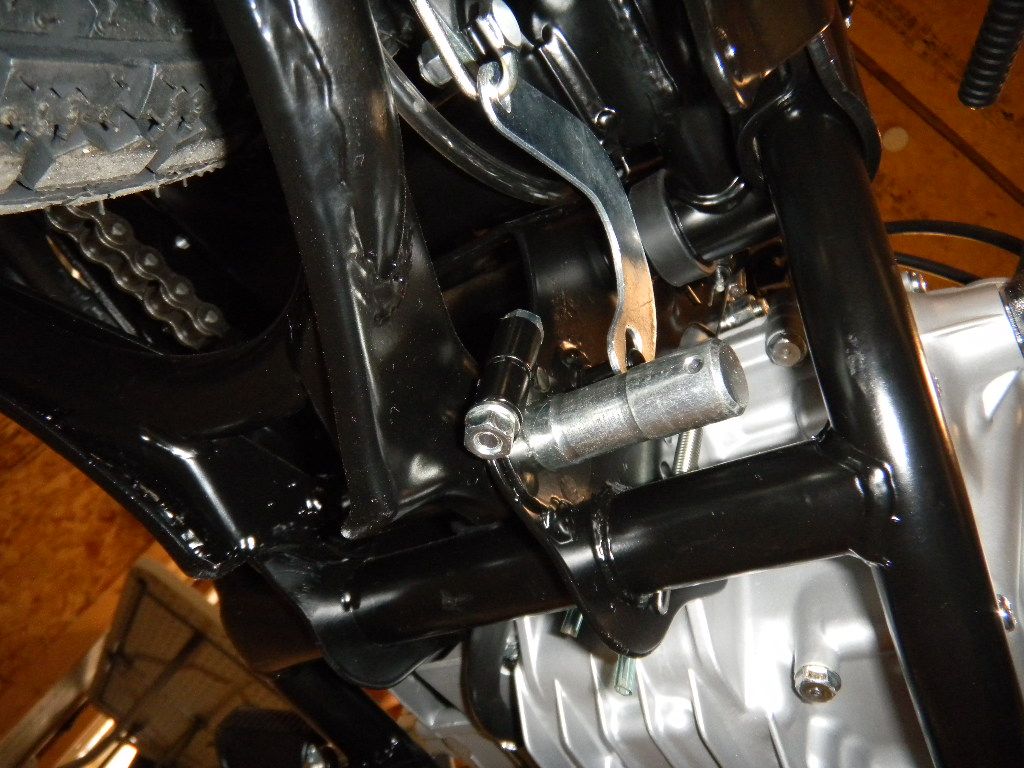
Brake pedal partially on with lithium-moly grease
Washer & cotter pin in place
Larger spring is the brake return, smaller one actuates the brake switch

Brake rod installed & adjusted
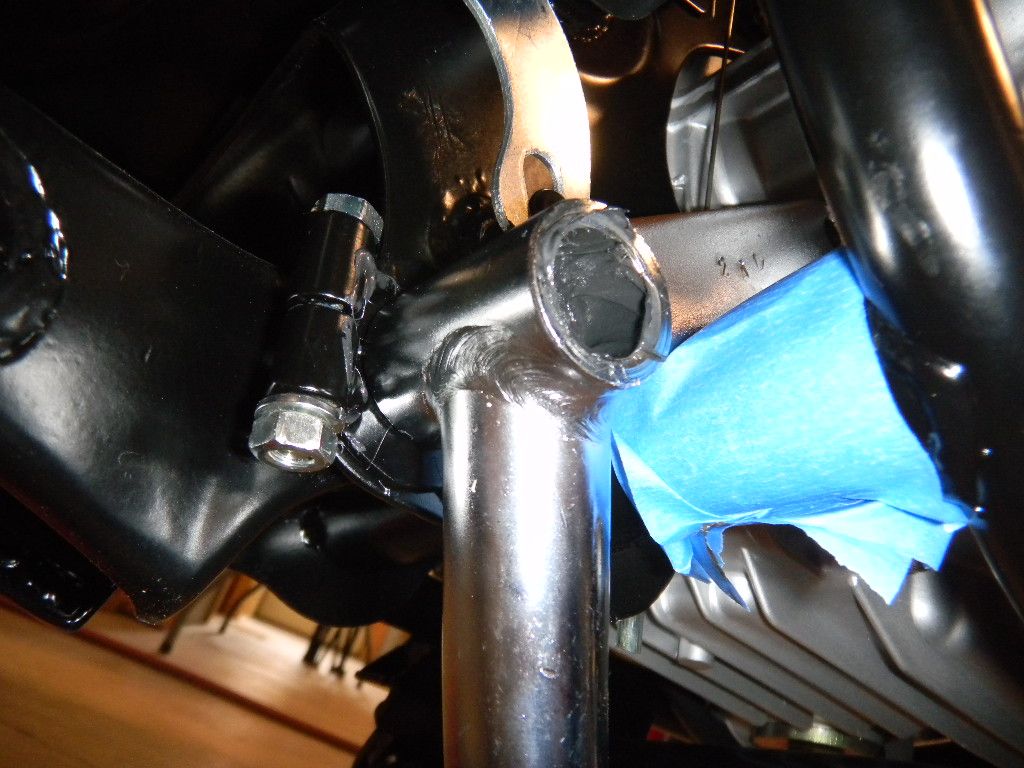
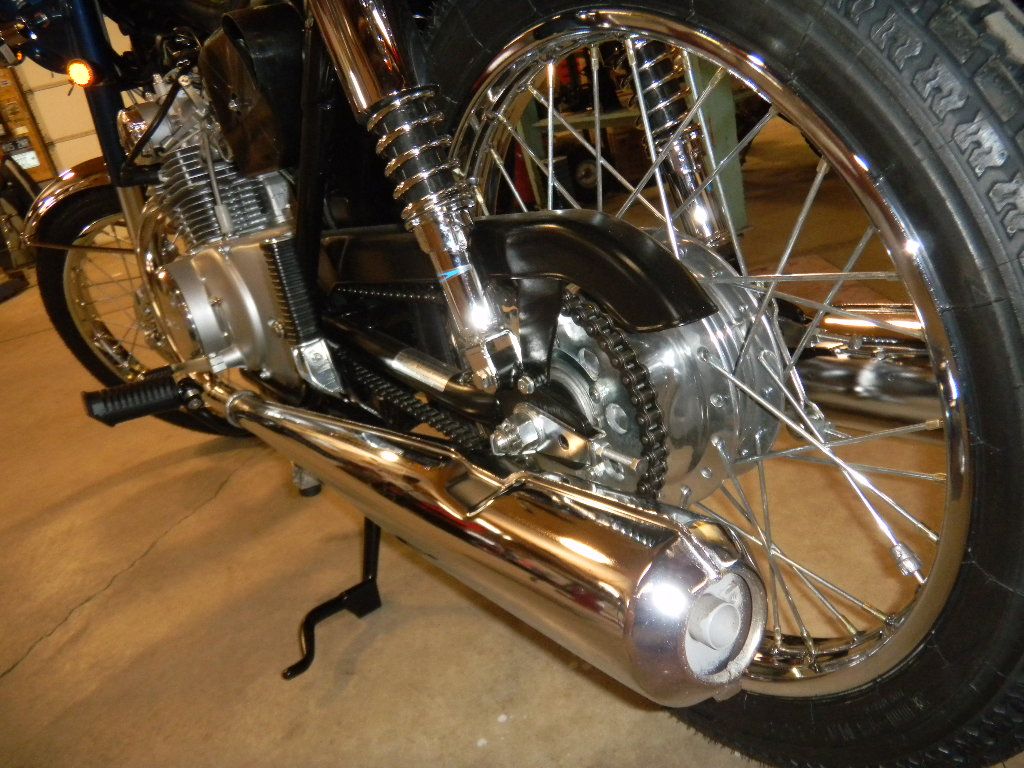
Mufflers... I didn't get a shot of the individual parts (copper gasket, collars & finned joint). The copper gasket went in first, followed by the muffler assembly (one piece, OEM #HM338), then the collars and finally the finned joint - held on with two 6mm nuts.
Used painters tape to keep from scratching the pipe
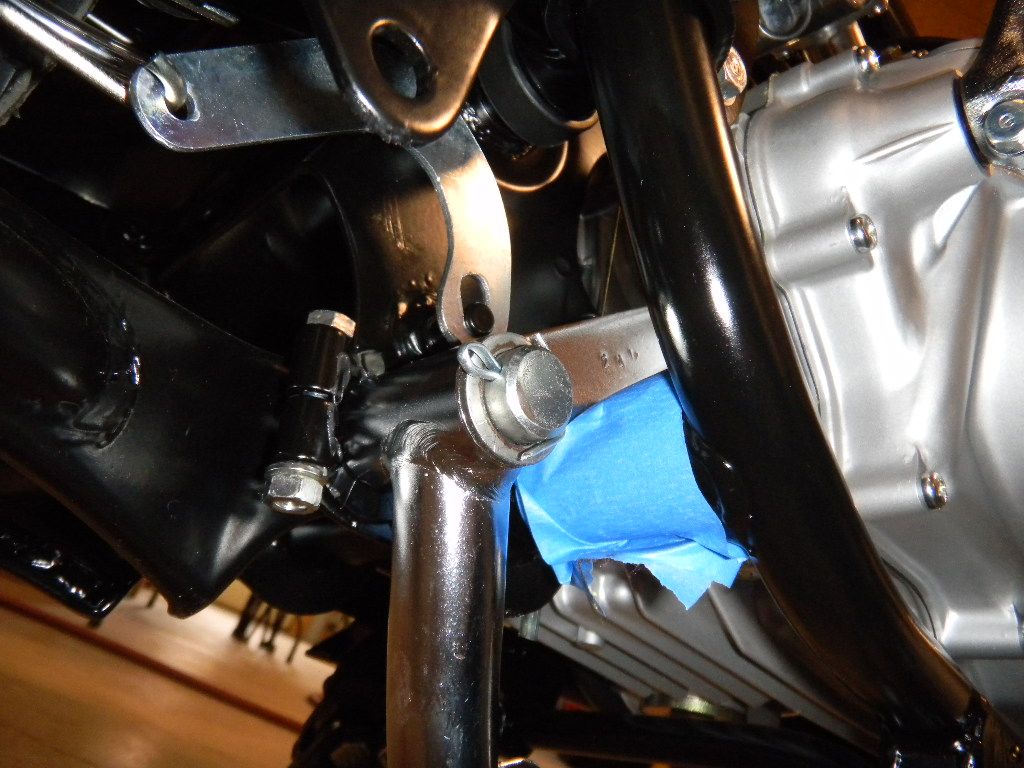
Attaches in the rear with the bracket where the passenger pegs are
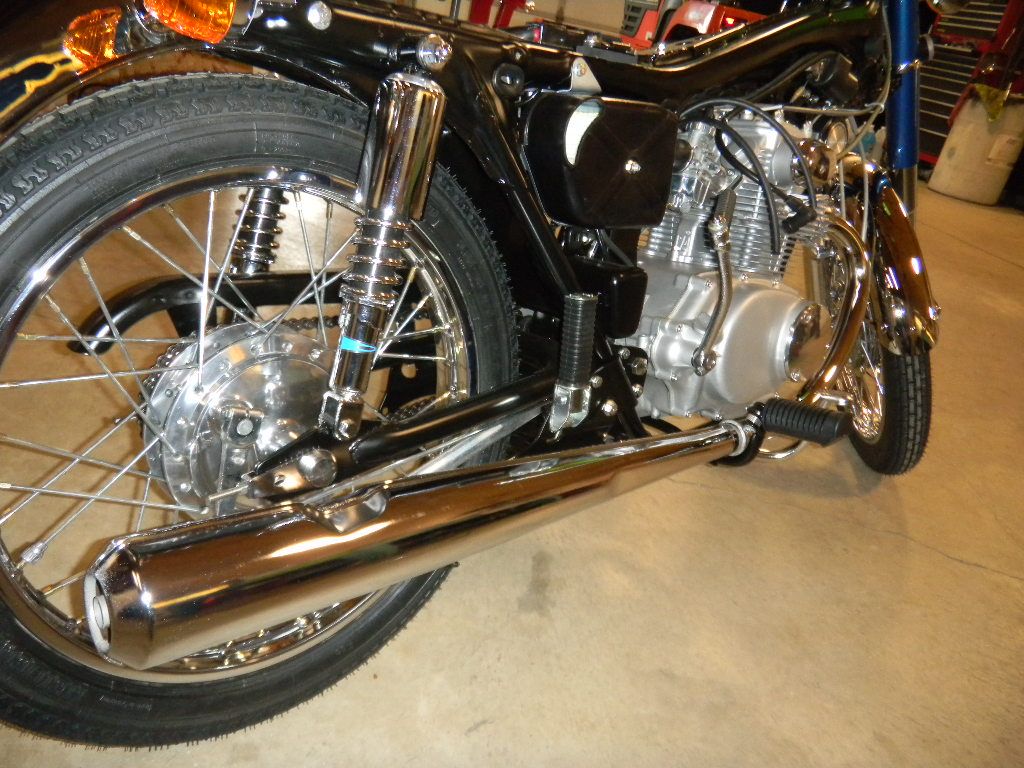
Other side
The kick stand wasn't fitting right. It was the right length, but it looks like the pivot bracket might have been changed at some point. Ended up finding a correct bracket.
Here's the final assembly (before this the kick stand sat too far back and didn't hit the rubber stop)

Re: Next bike project
Posted: Fri Mar 22, 2013 8:18 pm
by luludog
Finished up the wiring in the headlight. Was pretty straight forward, just connected similar color wires.
Before
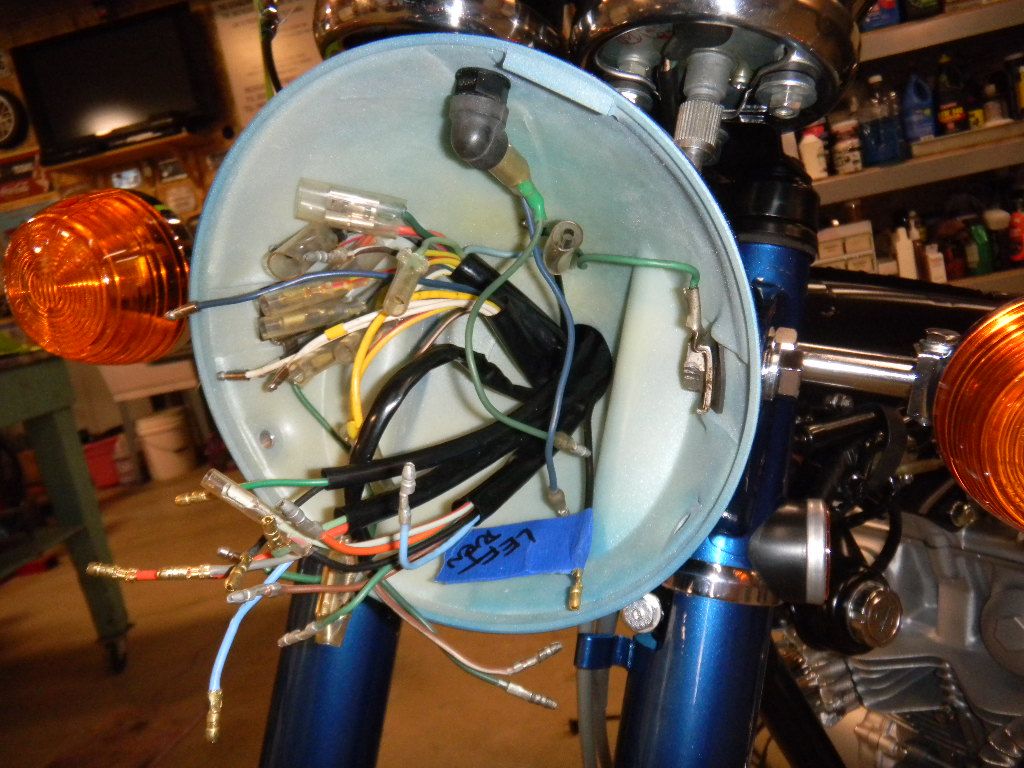
After

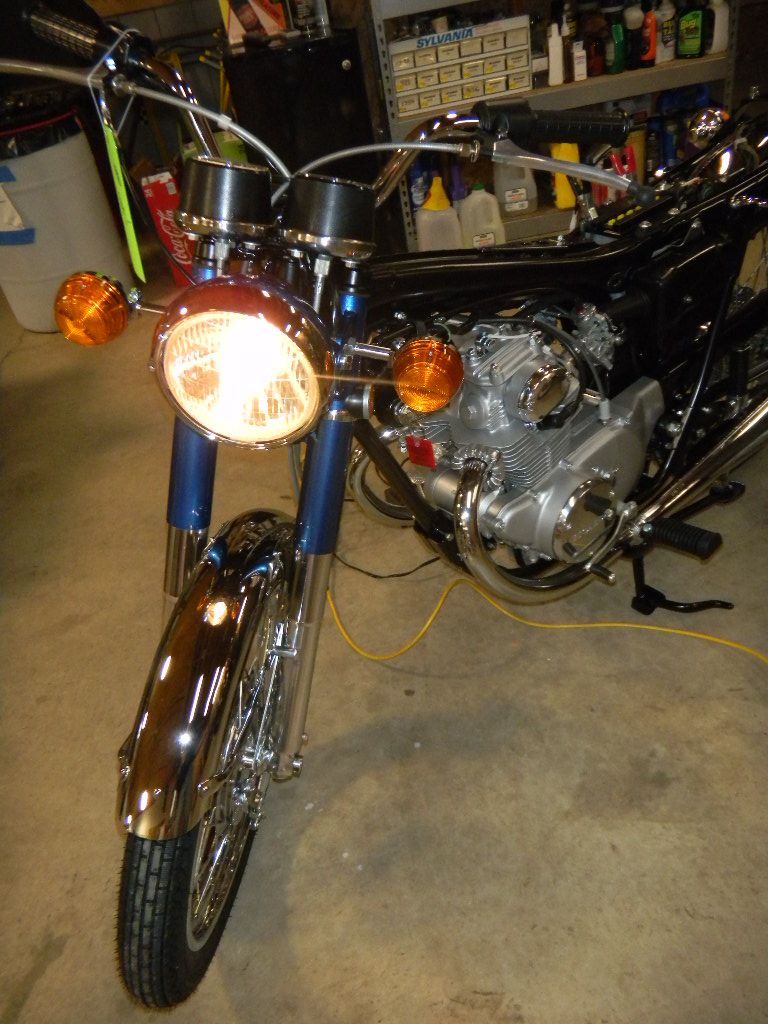
Switches & lights checked out good.
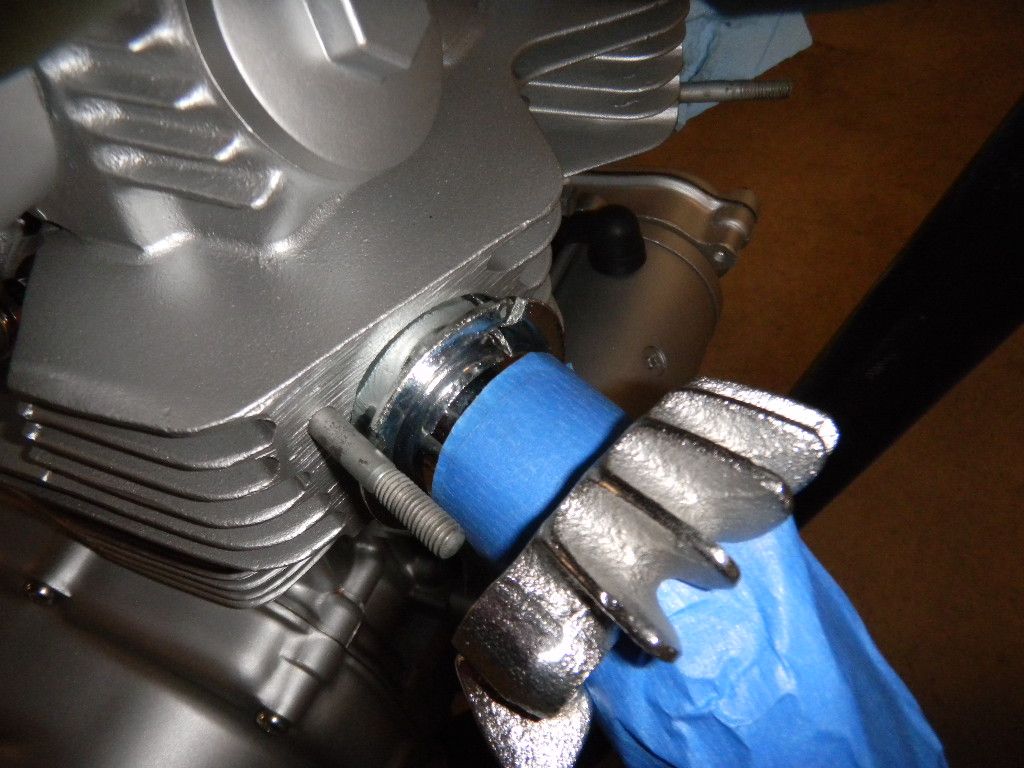
Added oil, grounded the coil, pulled the spark plugs & cranked the engine until I saw oil.

Hope to fire the engine early next week.