Page 5 of 10

Posted: Sun Jan 25, 2009 7:44 pm
by Sagebrush
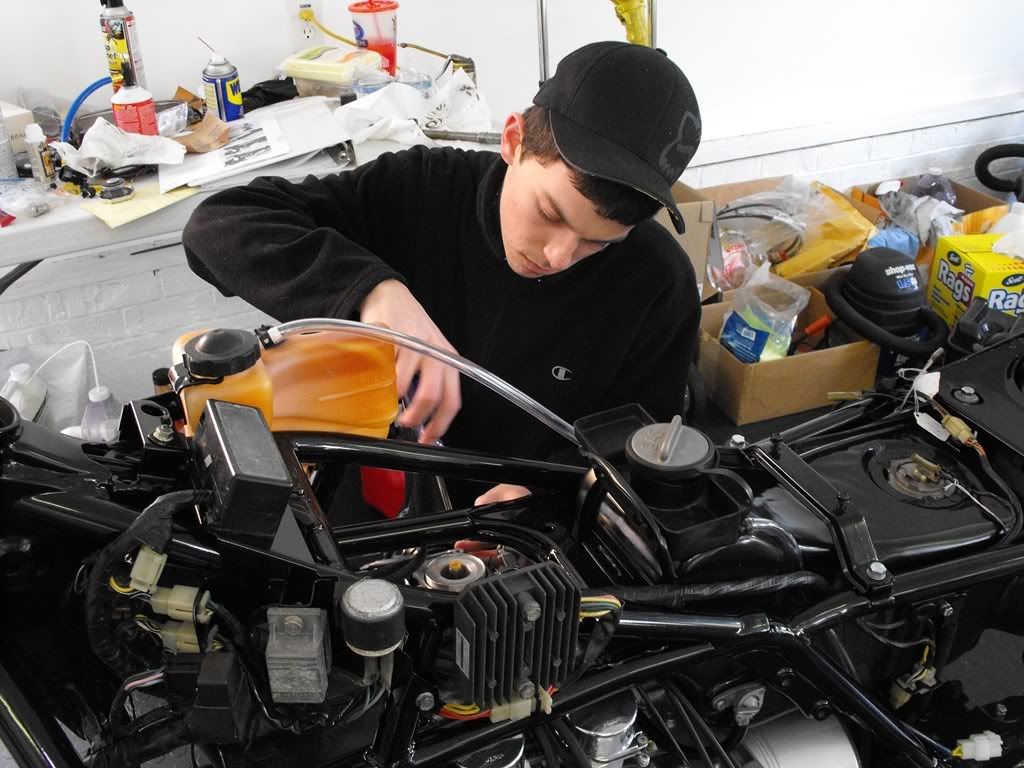
Its been a while since I've updated on the bike proper. Some of that is attributed to not working on it because the grandson and I couldn't get our schedules to coincide, as well as having to wait for outside work to be completed and waiting on parts etc.

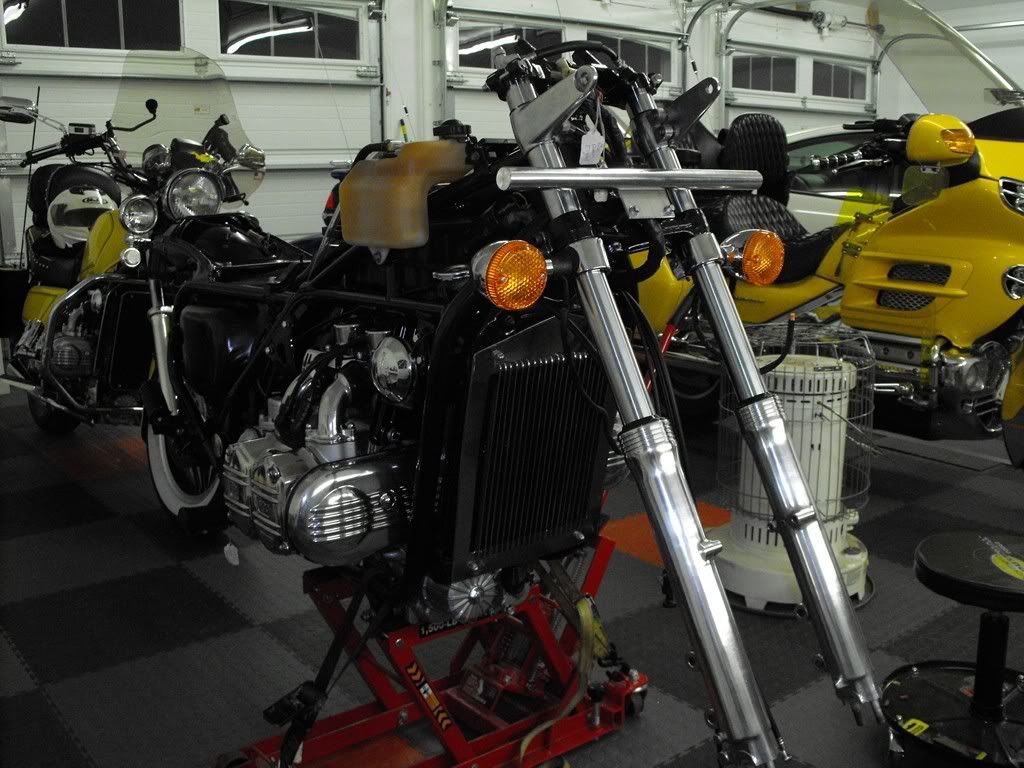
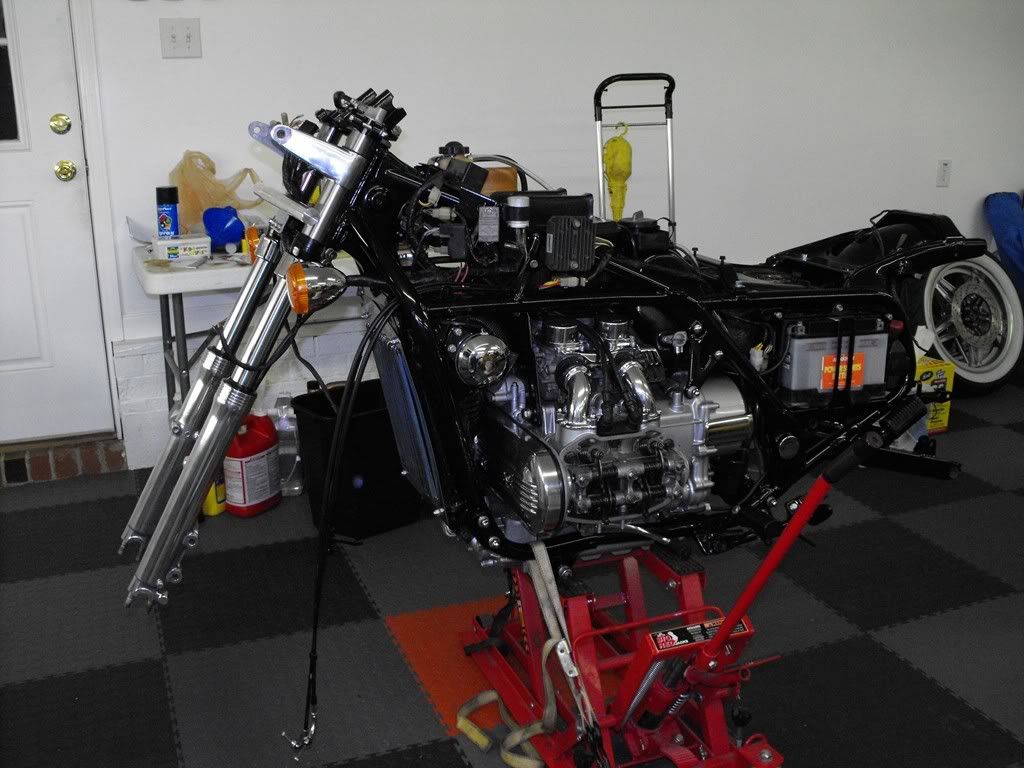
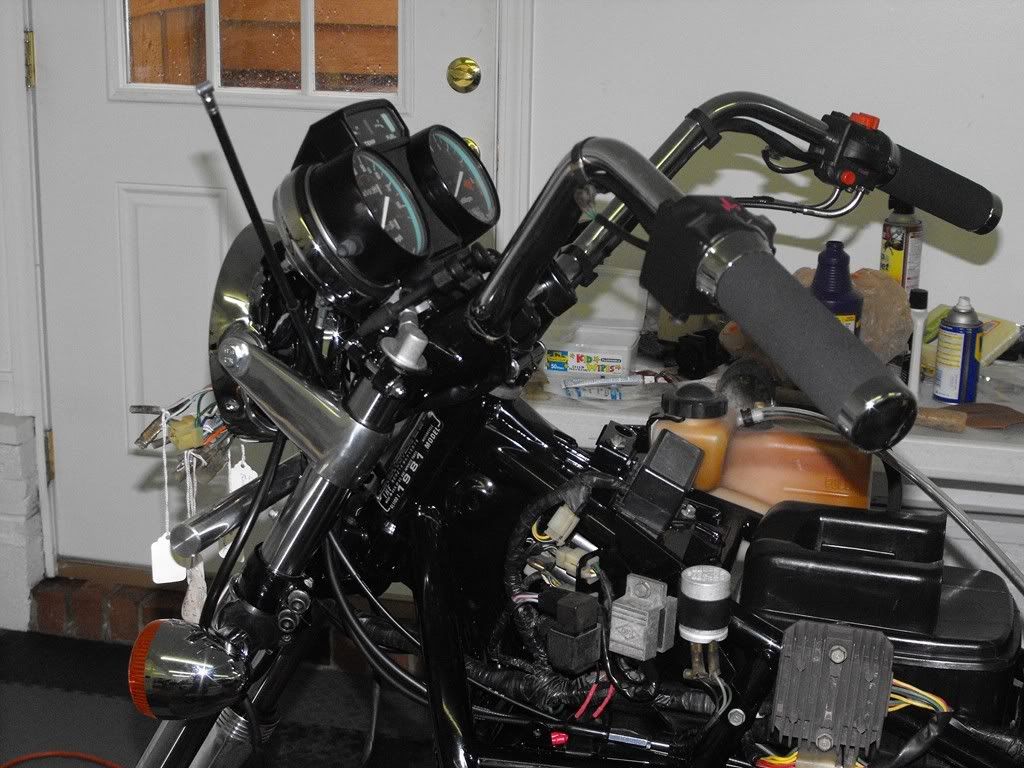
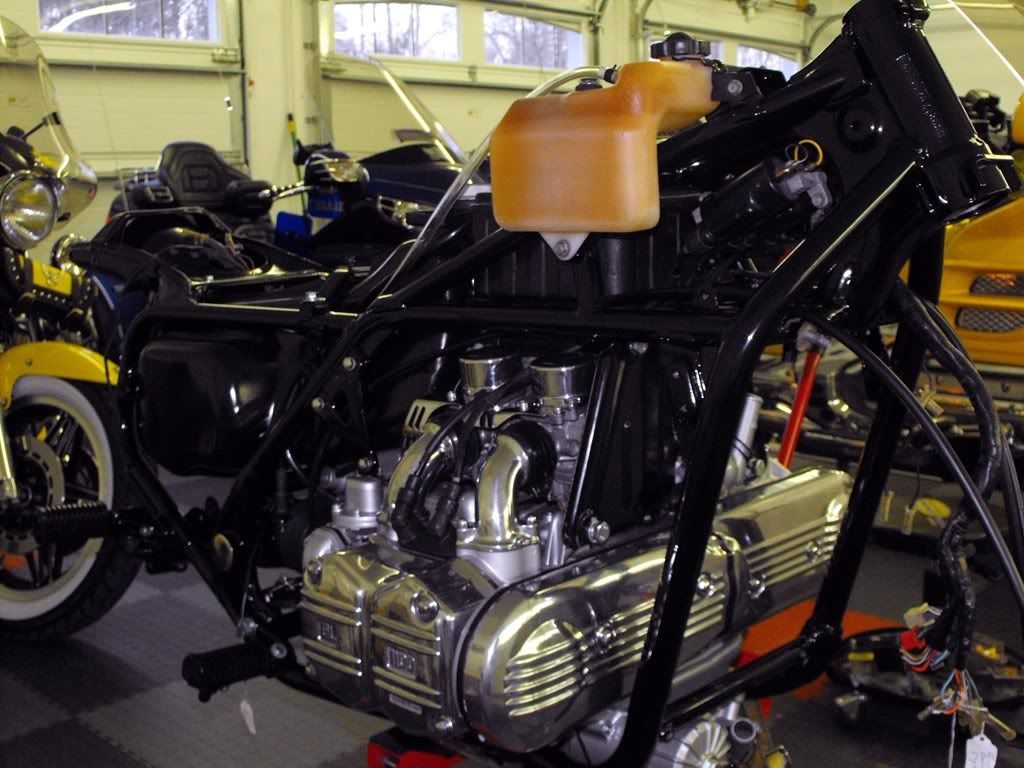
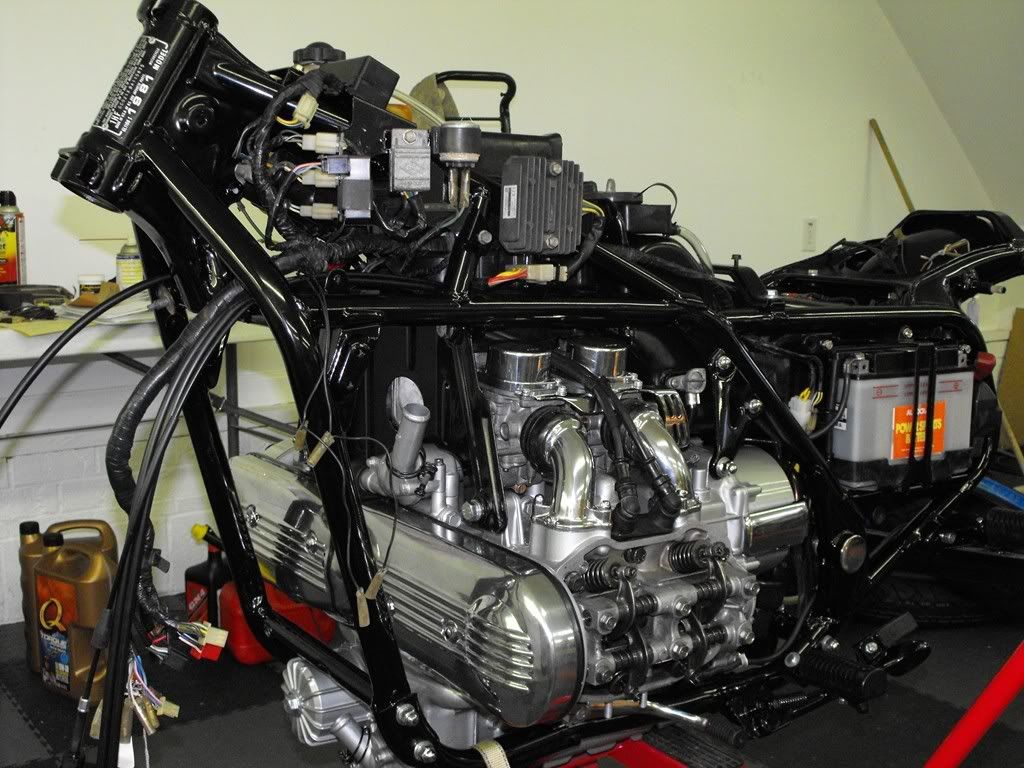
We did manage a couple of good afternoons on it and got the carbs installed as well as new throttle, choke and clutch cables hooked up to the carbs and clutch and routed. Coils cleaned up and installed as well as the soloniod, battery and starter cables. We had to remove the radiator to install the carbs as well as to allow access to change out the painted timing belt covers for the polished ones, oh well. We also got the upper engine mounting bolt installed. That turned out to be a major bitch because the bolt holes on the little triangular mounts wouldn't line up any closer than about half of the bolt diameter. We had to loosen all the other engine mounts and almost completely remove the heat shield before we could get it to line up. But we finally conquered it. Anyway, current pictures follow.

Image

Image

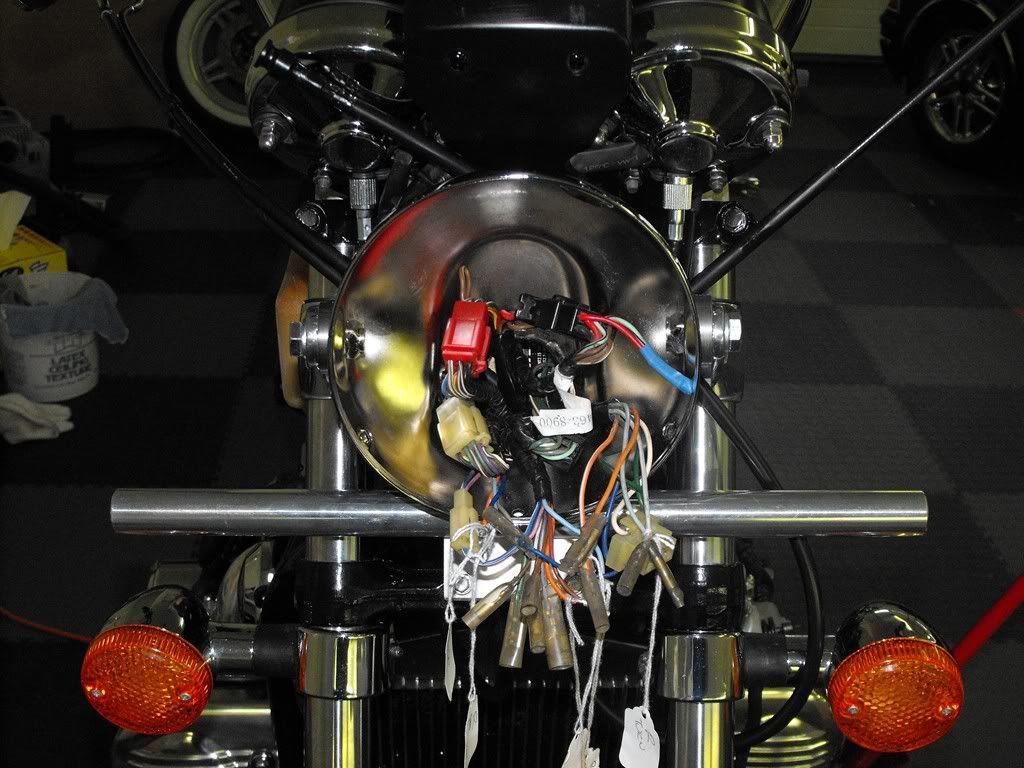
I'll bet you can't guess what mounts to my stripped out bolt hole from this picture:

Image

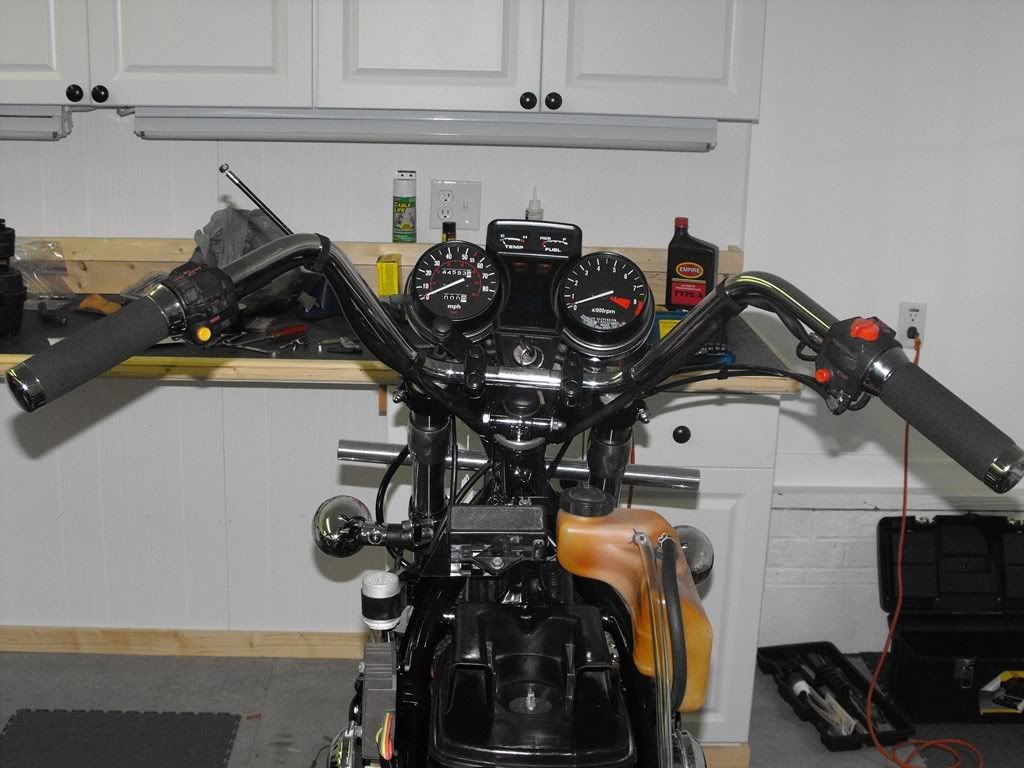
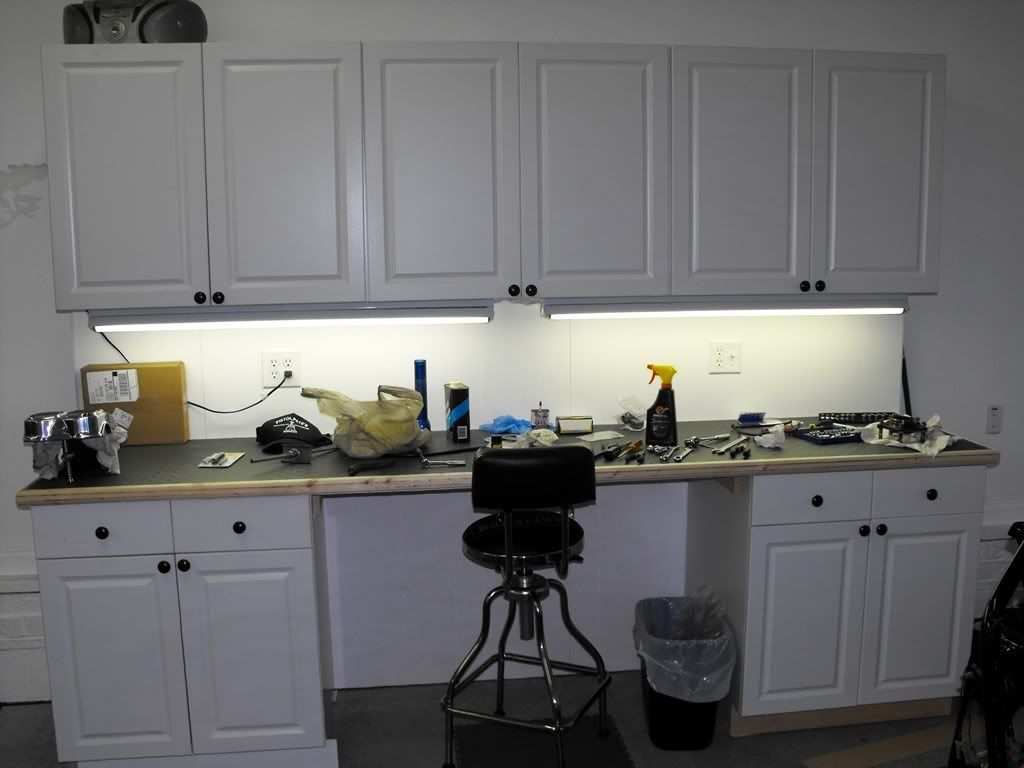
And finally to make good use of my time while waiting for outside jobs and parts to come in I built this. Its not quite finished but it got put in to service early.

Image

Posted: Sun Jan 25, 2009 8:19 pm
by Mike-C
Hey Dean;
As I said is your grandson going to get the keys and the title when you are done? Is all your snow melted?
Regards;
Mike
'84 Wing-Lite

Posted: Thu Feb 19, 2009 11:50 am
by motnick
How about an update?

Posted: Thu Feb 19, 2009 8:34 pm
by Sagebrush
Well, Motnik is right time, for an update.

We decided to drill the rotors because I loose a lot of braking power on my '82 when riding in the rain. Figured drilling the rotors can't hurt and might even help. I took my inspiration from Sgwilly in this thread Drill, Baby, Drill!. However, I wanted more of a spiral pattern.

To accomplish a spiral pattern I started out like Sgwilly did by tracing the outline of my rotor and marking the bolt holes on a piece of paste board. Its important to mark the bolt holes particularly on the fronts because you want the spiral pattern to match up on both rotors.
Image

I then determined the center of the circle by measuring the diameter and dividing it in half.
Image

I then determined the center of the rotor by drawing several arcs with my compass from different points on the circle. I figured the law of averages would reveal the true center to me by doing this.
Image

Then I drew a line through the center of one bolt hole and through the center of the rotor. This line will determine the starting point for my pattern. Image

Using a framing square I drew a perpendicular line.
Image

After extending the line I measured four 10mm increments from the outside edge along the primary line and then drew concentric rings with my compass.Image

Image

I divided each quarter by measuring the midpoint of where the lines crossed the arc then drawing a line through the midpoint and the center. Repeating this until I got the spacing for the holes that I wanted. Tighter spacing of the rings will allow you to drill smaller holes and still get overlap from one hole to the next.
Image

Image

Image

Image

I experimented some and figured out a pattern that came out evenly from start to finish.
Image

Then it was just a matter of cutting my pattern out and taping it to the rotor, making sure to line up my primary line with the bolt hole that I wanted to use as a starting point. Since its easier to drill from the back side of the rotors you want to make sure your pattern is going the opposite direction from the way it will be seen from the other side. Make sure when drilling the other front rotor that your pattern is the mirror image of the first rotor. I used a spring loaded center punch to mark the rotor through the paste board. Worked quite well.Image

After making a pattern and marking all three rotors.....Image
it was off to Sgwilly's house to borrow the use of his drill press.

Here's Steve hard at work on one of my rotors.Image

Unfortunately, things didn't go all that well during the drilling process. After completing the first rotor Steve turned his drill press off and then we couldn't get it started again because the bearings seized. So Steve borrowed a press from his dad and later that afternoon we got the other front rotor drilled. When we started on the rear rotor we began eating up drill bits like there was no tomorrow. Never did get it completely finished. Either that rear is made from steel forged in space from a meteorite or the temper was changed from heat while on the bike. Either way Its now at a machine shop to see if they can finish the job we started. Funny thing is Steve drilled the rear from his '83 and from a '75 that he is restoring without any problems. Just my rear rotor is giving us fits. Go figure!

Here are the front rotors mounted on the powder coated wheel with a new tire balanced with Dyna Beads.Image

Well we've been working on more than just the rotors. I rebuilt the front forks. I purchased 2 inch over stock length fork tubes from Forks by Frank. I got the link to his web site from Randaak's web site. Frank did a really nice job. I just told him what I wanted and he did the rest. Very quick manufacture and delivery. Very satisfied with his work. When I rebuilt the forks I replaced both bushings and substituted progressive springs for the stock springs. New seals and dust bushings along with new crush washers and the forks were ready to put on the bike.

This is pretty much how the bike is sitting right now.
Image

Image

We've begun rebuilding the calipers and the master cylinders. I still need to order some stainless brake lines to replace the 28 year old rubber lines.

Posted: Thu Feb 19, 2009 11:00 pm
by sunnbobb
Very nice! Cool work bench too. What is that bar across the top of the forks?

Posted: Thu Feb 19, 2009 11:10 pm
by Sagebrush
That's the light bar that Sodbuster had made for me. I haven't got the lights or clamps for it yet. I basically put it there to keep it out of the way. To see what it's going to look like I have its twin mounted on my yellow 1100. It can be seen in my gallery, click on the link in my signature.

Nice work

Posted: Fri Feb 20, 2009 11:14 am
by Hardware Man
Sagebrush, Fantastic work!!! I have not had a chance to check out the site in a while. Your rebuild looks great and I'm proud to have my 83 as an inspiration to you . Your work looks better than any out of create factory bike. Keep up the great work I can't wait to see how it looks when its done. Your yellow bike has been one of my favorites.

Posted: Fri Feb 20, 2009 2:59 pm
by motnick
I cant seem to see any of the pictures in this thread anymore. Any ideas?

Posted: Fri Feb 20, 2009 3:27 pm
by Sagebrush
Pictures are posted and linked from Photobucket. Some setting in your browser prohibiting them maybe?

Posted: Fri Feb 20, 2009 3:56 pm
by Whiskerfish
I can see them just fine?? She looks great Dean!!

Posted: Sun Mar 01, 2009 11:45 am
by AC/DC
That bike is going to look great when it is finished!

Posted: Sun Mar 01, 2009 3:02 pm
by Sagebrush
I know most of you have been waiting with baited breath for an update so here ya go :-D. Disassembled, cleaned, replaced rusty hardware and mounted the ignition switch and gauges. I found that Home Depot is a good source for stainless metric acorn nuts. I replaced all the acorn nuts on the back of the meters after shining the chrome with SOS pads. Also cleaned and touched up the lettering on the handlebar switch assemblies and mounted them. This allowed me to install the grips and hook up and adjust the throttle and choke cables. The handlebar controls are up next for refurbishment.

Installing the switch assemblies and ignition switch allowed me to make all the connectors in the wiring harness. Next is sorting out the turn signals and brake lights. I hope I can get the headlight mounted when I'm done.

Image

A view of the meters and handlebars.
Image

And a side view of the latest additions.
Image

Posted: Thu Mar 05, 2009 7:17 pm
by sodbuster
Lookin Good there Dean ........ Very nice work, very nice !!

Posted: Mon Mar 09, 2009 7:15 pm
by vstromed
A question for you. I am converting my 83 Interstate from a fairing to a naked and am wondering what you used for a headlight and mounting bracket. Thanks! Your bike looks great, by the way!

Posted: Mon Mar 09, 2009 8:02 pm
by Roady
Welcome to the forums, vstromed.

Might I suggest that you start with a Search for Headlight+Ears.

There's 3 pages of results for you to peruse.