Ignition Switch cleaning
Posted: Tue Feb 17, 2009 10:30 am
Take a 10mm socket and long extension (job is easier if headlight bucket is removed). Remove the 2 bolts holding switch to gooseneck (under the gooseneck)!
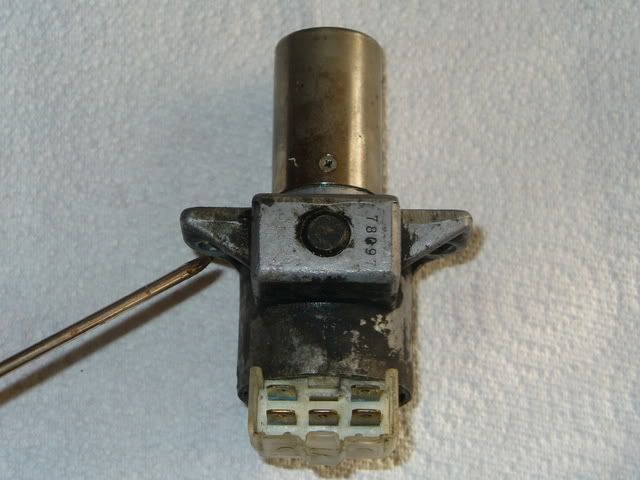
Unplug wire harness from switch and take unit out. There are 2 tabs on barrel that have to be pushed in to remove plastic part. (be careful with tabs after 30 years they are brittle)
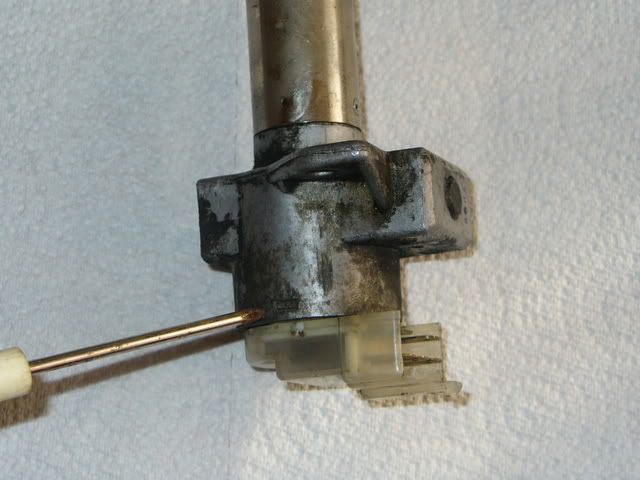
Now seperate plastic unit with a flat bladed screw driver.
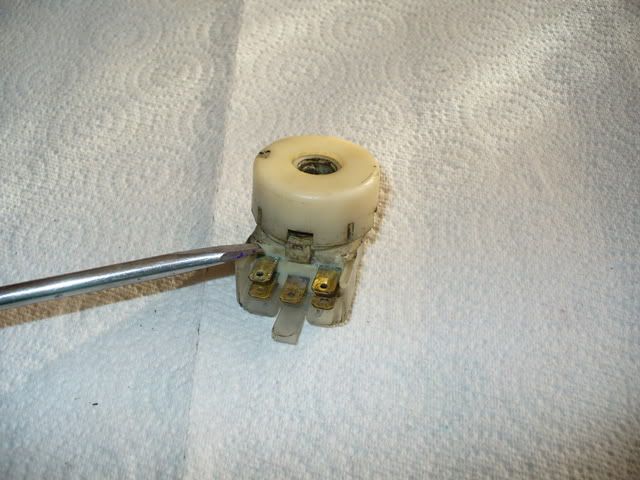
Inside there are 2 saddles and springs , pluss 5 copper post.
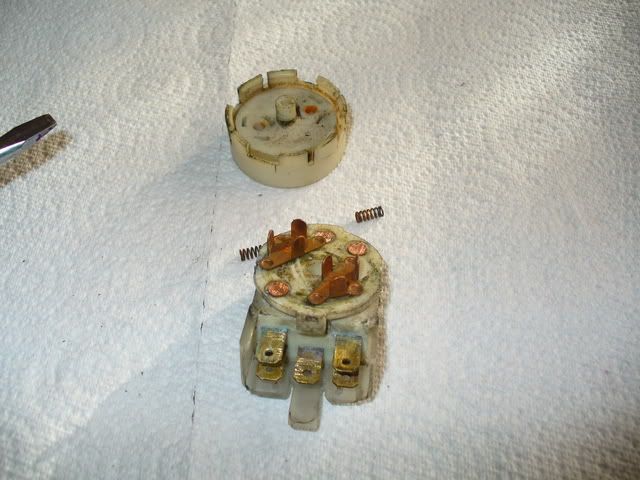
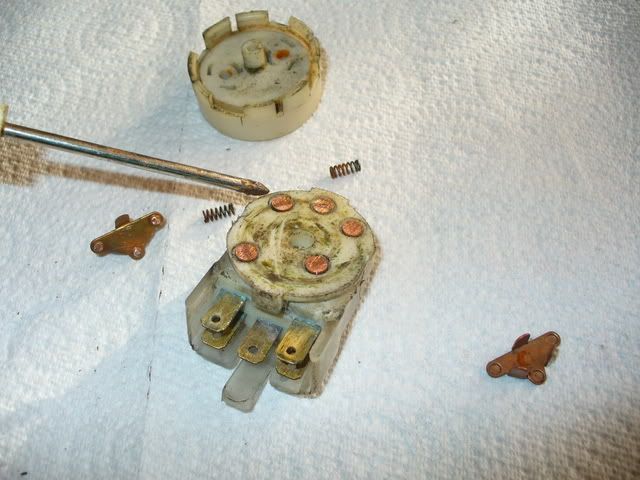
Now take sandpaper and contact cleaner and clean them. Put springs in the holes where they go and put saddles over springs (they can only go one way) so can't screw up.
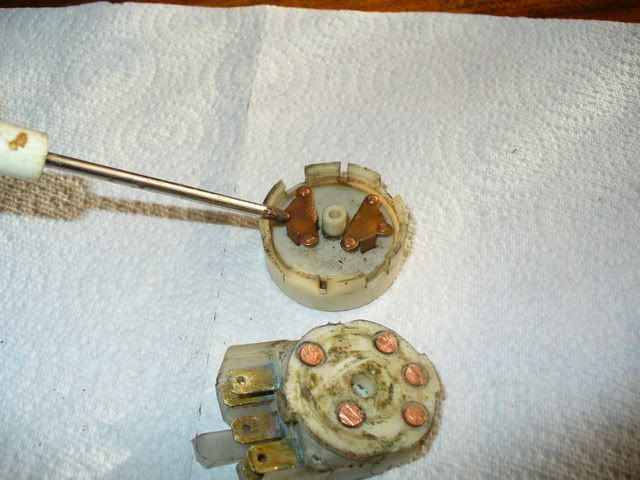
Clean up connector's and put a little contact grease on all parts. Put plastic unit back together (only go's one way) so can't mess this up. Now put plastic unit back in barrel ( this has to line up)
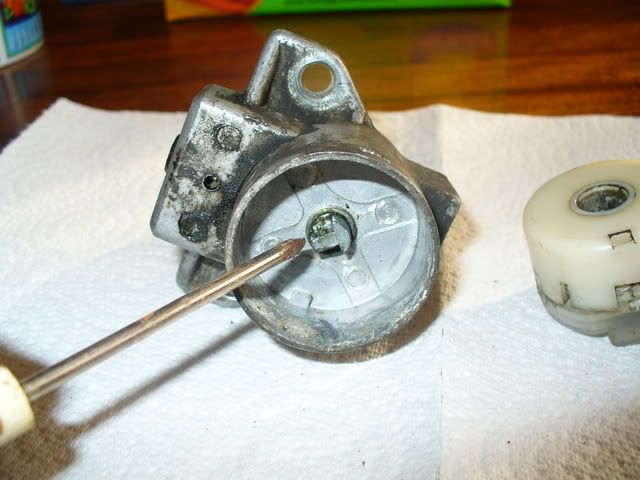
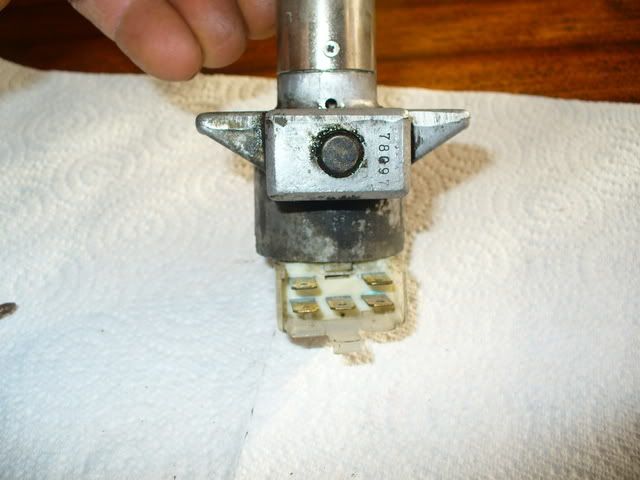
If you didn't move switch in prosess you should be good to go. I hook up to electric and try it before I remount it to bike. This way if it didn't work you don't have to take back out.

Unplug wire harness from switch and take unit out. There are 2 tabs on barrel that have to be pushed in to remove plastic part. (be careful with tabs after 30 years they are brittle)

Now seperate plastic unit with a flat bladed screw driver.

Inside there are 2 saddles and springs , pluss 5 copper post.


Now take sandpaper and contact cleaner and clean them. Put springs in the holes where they go and put saddles over springs (they can only go one way) so can't screw up.

Clean up connector's and put a little contact grease on all parts. Put plastic unit back together (only go's one way) so can't mess this up. Now put plastic unit back in barrel ( this has to line up)


If you didn't move switch in prosess you should be good to go. I hook up to electric and try it before I remount it to bike. This way if it didn't work you don't have to take back out.