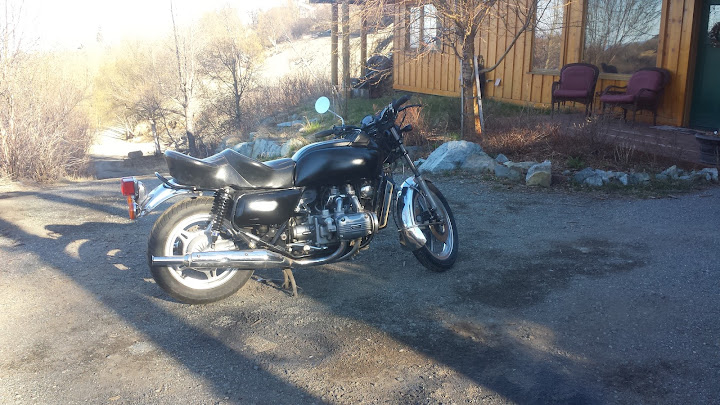
The day started out well:


w00t!!!
I removed the old shocks...:
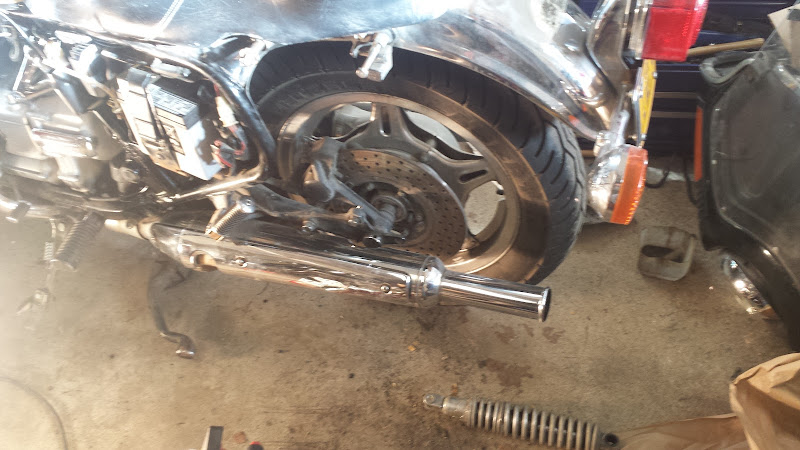
...and started to reinstall the new ones. The shocks had been sitting in the mailbox, causing the rubber bushings to be a little cold and stiff. Consequently, it took a little more effort than expected to get the bushing over the upper shock stud, so I put a couple of washers on the stud and tightened up the acorn nut to press the bushing and shock fully onto the stud. So far, so good. But then, while trying to remove the acorn nut on the RH shock...:


I think I've got an idea how to fix it, though. The stud itself is still firmly attached to the frame, and it's only the threaded portion of the stud that busted off. The shock is still fully seated on the smooth portion of the stud. The part that broke only exists to mount the passenger grab rail, and to keep the shock from sliding off of the stud. In other words, the threaded part of the stud isn't really load-bearing. So...I should be able to drill and tap the stud, then install a smaller bolt (possibly with a small steel bushing so the grab rail isn't loose on the bolt) without affecting the structural integrity of the shock mount. If it works, I'll post photos.
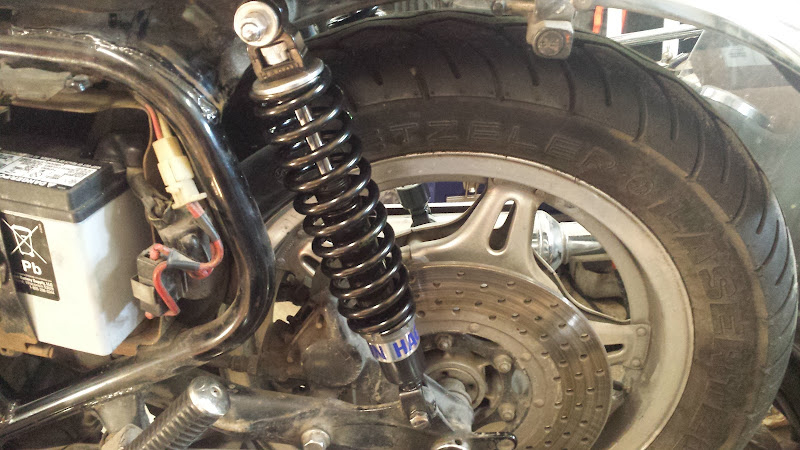
The left side came out okay, though:
I'm still waiting for the new brake bleeder valves to arrive (USPS says the ETA is Monday), and the shocks just arrived this afternoon. While waiting for them to get here, I pulled the crash bars and grab rails, sanded them down, and started apply a couple of coats of Dupli-Color "Roll Bar and Chassis" paint:


It's not easy painting outside in the dark, lol, so I found a couple of runs, and a couple of areas of insufficient coverage when looking over the parts today, but that's okay. I'll let the paint set for a week or so, then sand it lightly with some fine grit sandpaper, and apply a few more coats of paint. Especially on the crash bars, I want a good, thick coating of paint to protect the bars. The right way to do it would be to bead-blast and powder coat these parts, but I'm far more concerned with having a sturdy suspension on the bike than in cosmetics, so that's where I've invested the most money in the rebuild. I've also been working on the side covers, starting with the extra one that was missing the "GL1000" logo badges:

I've got the paint stripped off, and have been trying to fill the holes from the badges with ABS cement, but there's one stubborn spot where I left an air bubble. Filling it with cement is proving to be slightly more difficult than I expected(!), but I'll get there. Patience