
BEFORE YOU GO ON;
PLEASE READ *THIS*.
Please take into consiteration that you are dealing with brakes here;
they define the thin line between being a happy smiling GL rider
and a not-so-happy ex-GL rider in a wheelchair
or even a very dead GL rider.
If you haven't done this kind of thing before
please have someone qualified, check your work !
Thanks.
OK so lets have a look at the front master cylinder
(please note this is for the 75-77 range. The later models are a bit different)
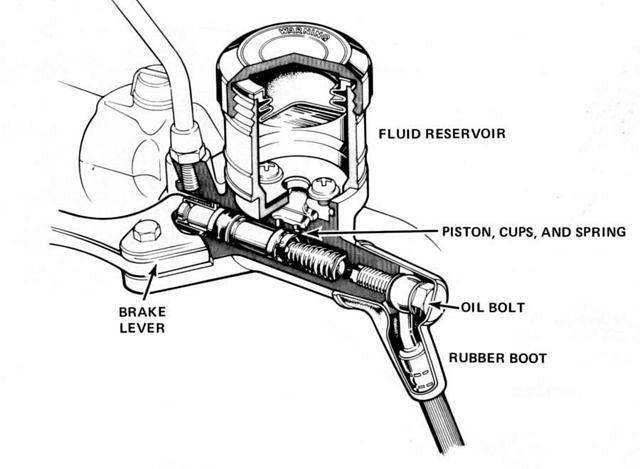
here's an exploded view

you'll need to have parts ready for this.
I don't care what my brakes on a 'new' bike look like;
I'll rebuild them no matter what,
so I've bought
..2 sets of front caliber sealing kits (aftermarked)
..one front master cylinder rebuild set (genuine Honda)
..one rear master cylinder rebuild set (genuine Honda)
a few other parts ,like some sets of shims. Didn't know
they were available, but found them at CMS in Holland
The rear caliber sealing kit is still in the mail somewhere out there

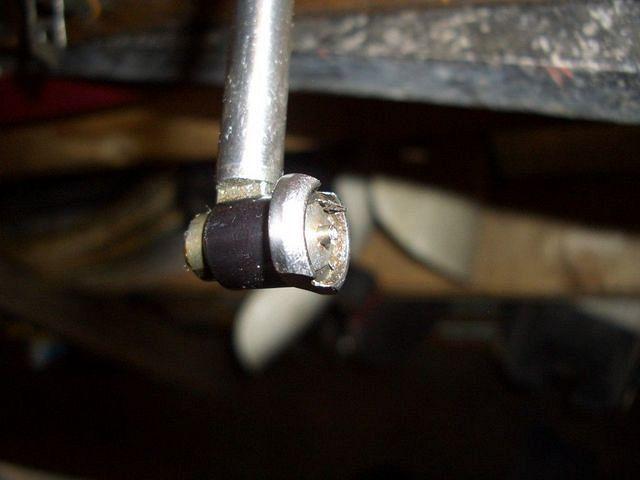
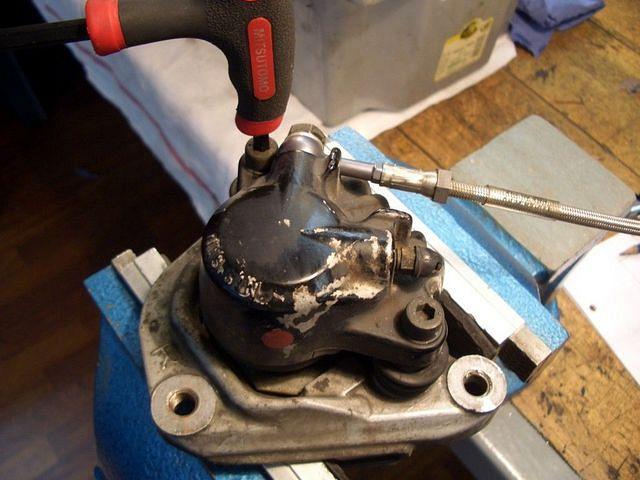
OK so take the master cylinder off your bike
(remember; brake fluid is an exellent paint-strippe, so protect your paintwork)
and go to work.
Handle comes off

together with this plate

that hold this rubber-thingie.
Our friend Randakk has a nice little piece on the subject
of brake-handle and that rubber-thingie:
Odd Front Brake Lever Problem

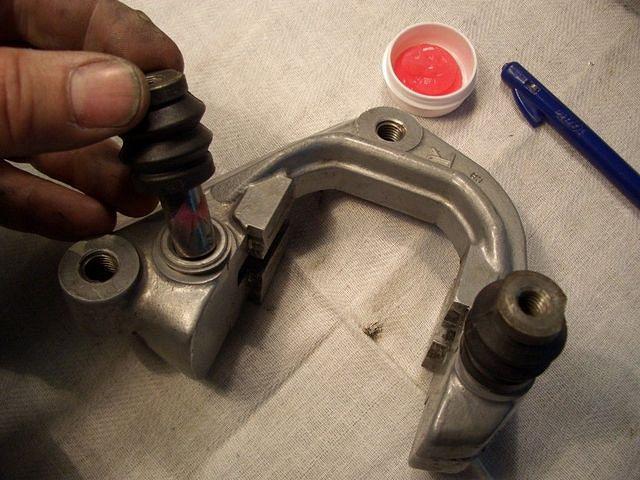
then off comes this rubber boot

witch is held in place by a plastic washer and a clip

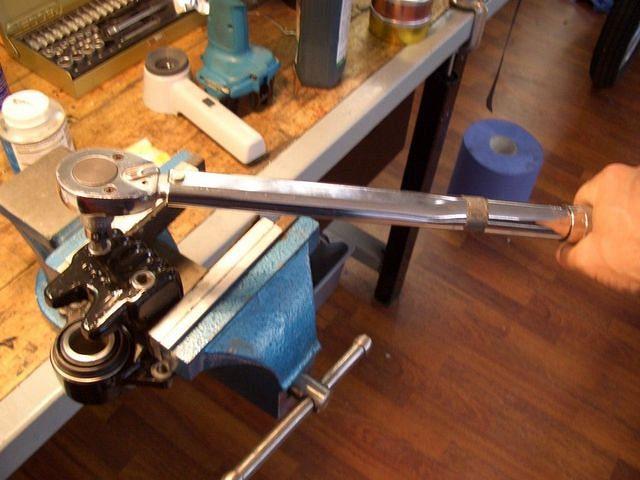
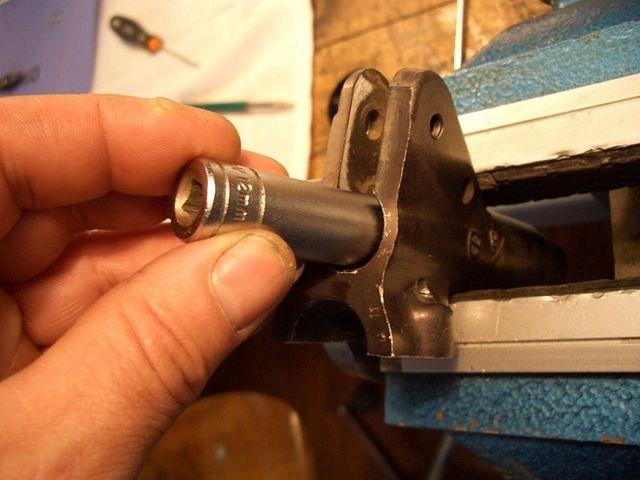
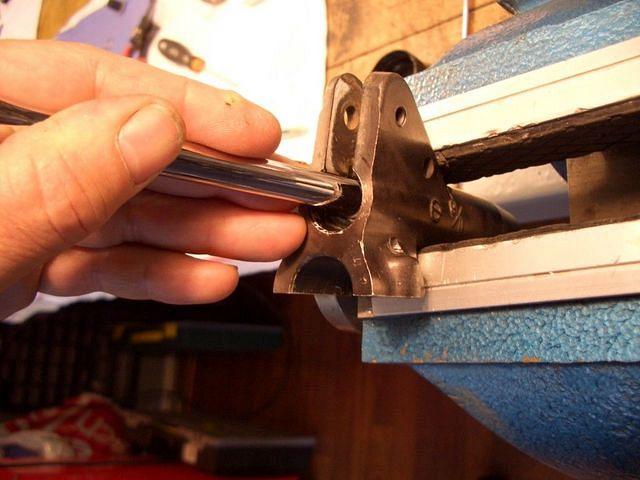
for the next step you gonna need one of these

now put the assembly in a wise (with those aluminum/rubber protectors you can see on the photo)
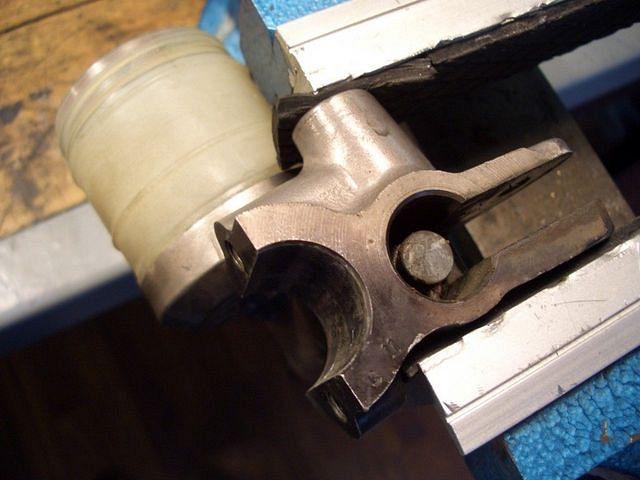
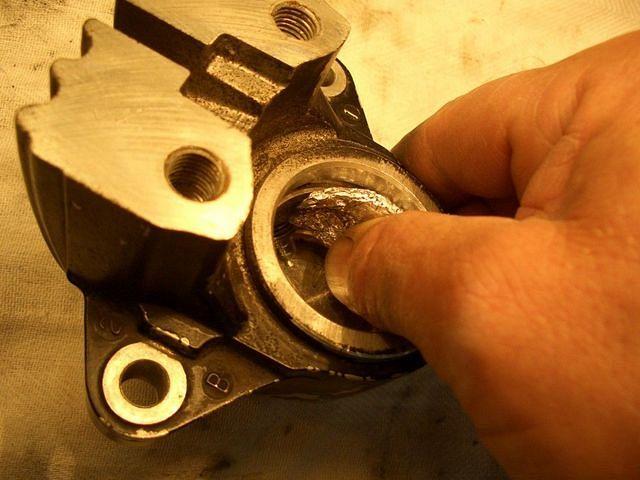
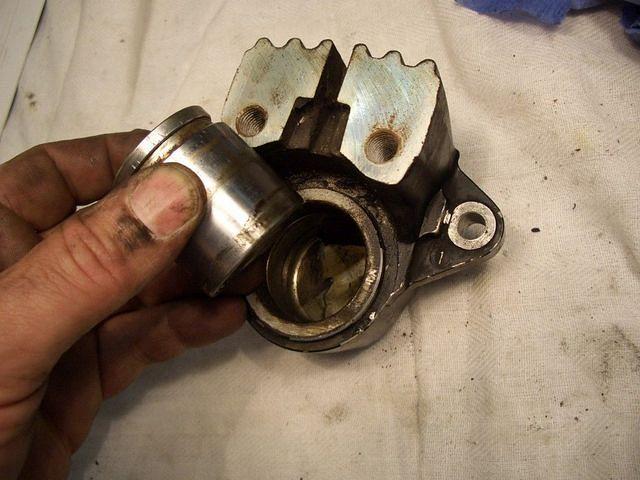
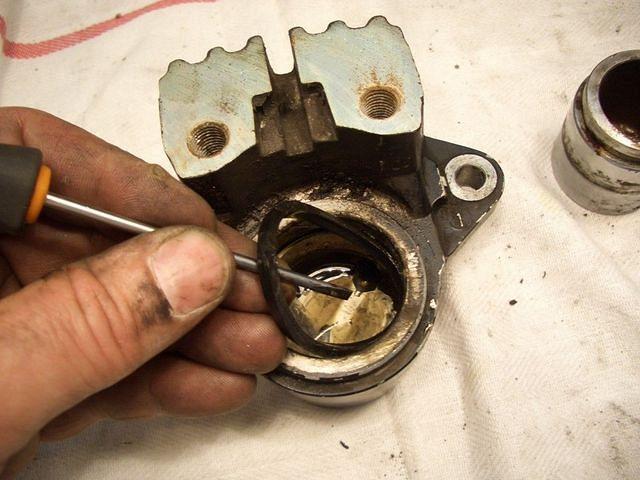
down here you'll see the circlip that keeps hold of all the parts inside
the cylinder bore

spray down some WD40 or similar as
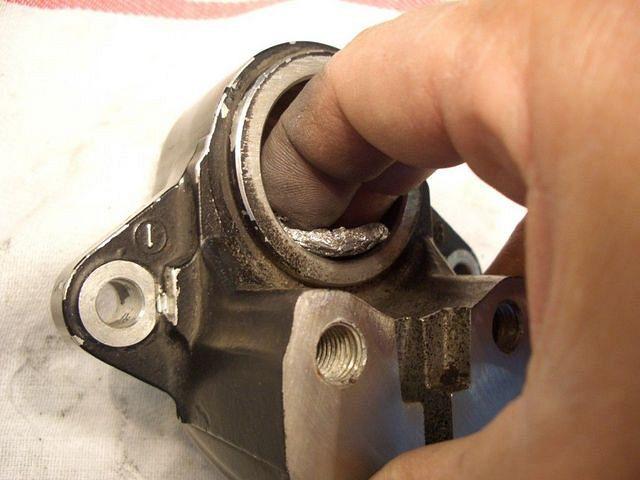
the circlip can be a real b**** to get out, but here it comes
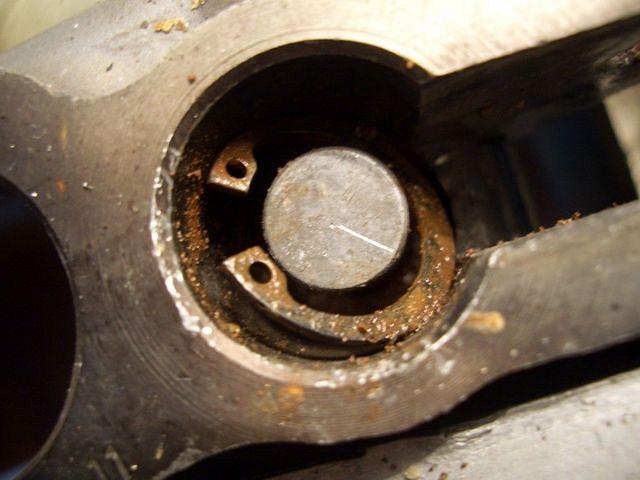
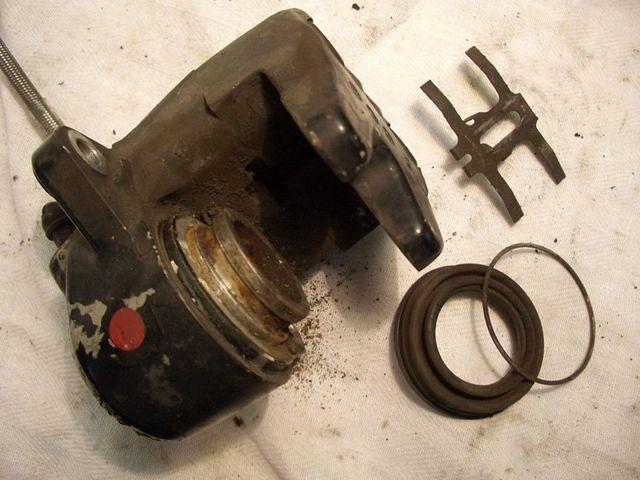
this is what you'll find inside

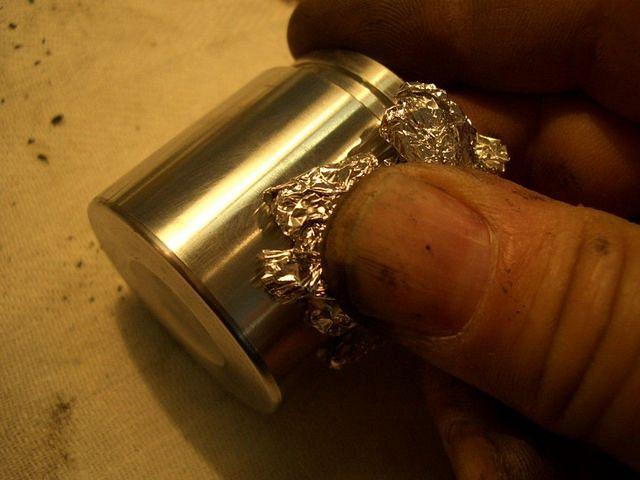
close up of the piston assembly

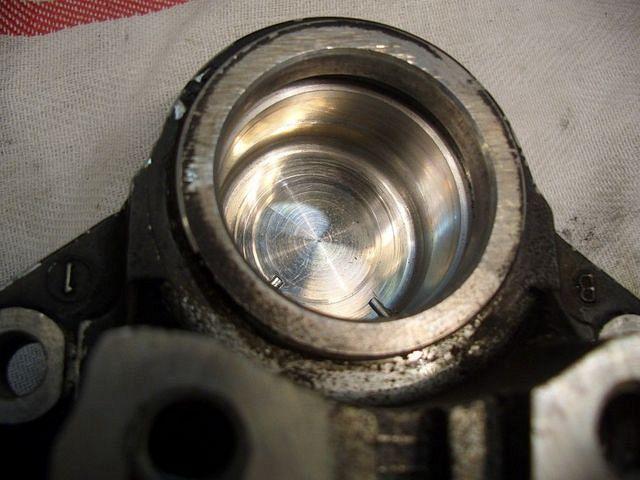
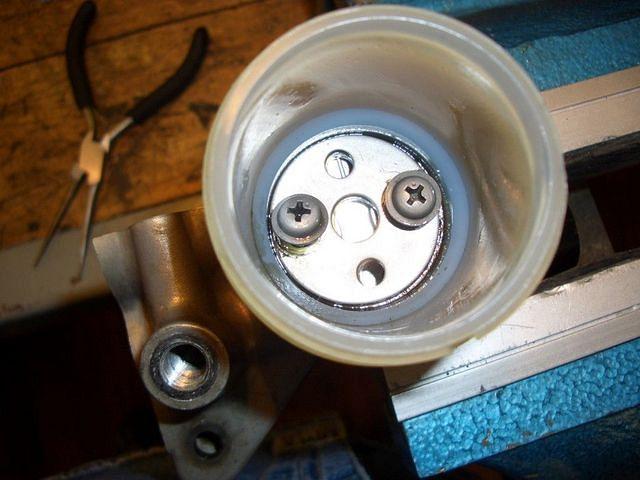
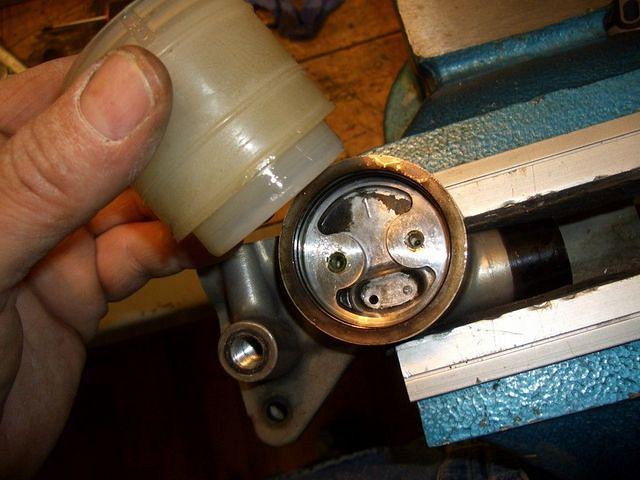
now for a look down the fluid reservoir,
clean a much as you can and take out screws.
mmmm....nice! looks OK !
there's every chance it could have looked like this .-(

take off reservoir
(note the dark dirt down there)
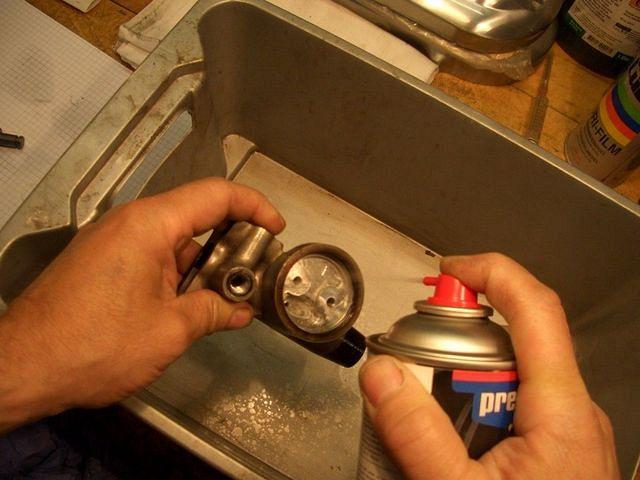
Time for a bath.
I use a household bathroom cleaner for this first cleaning

then submerge in a bath of fluid that dissolves rust/lime/dirt

and finish off with brake cleaner and giantuargianatronic(?) quantities
of compresed air.
CLEANLINESS is the key to a good brake rebuild
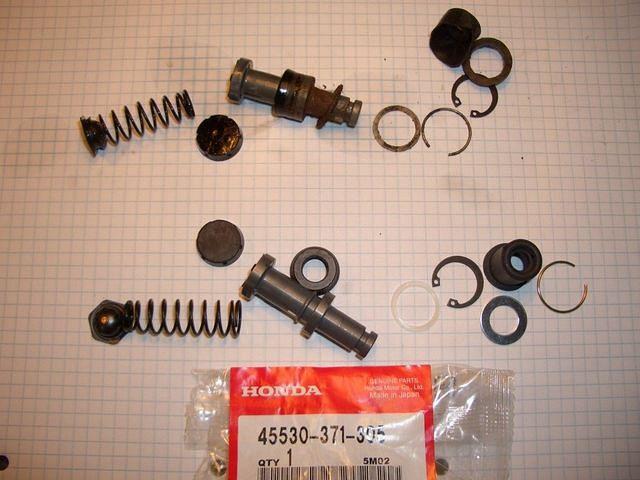
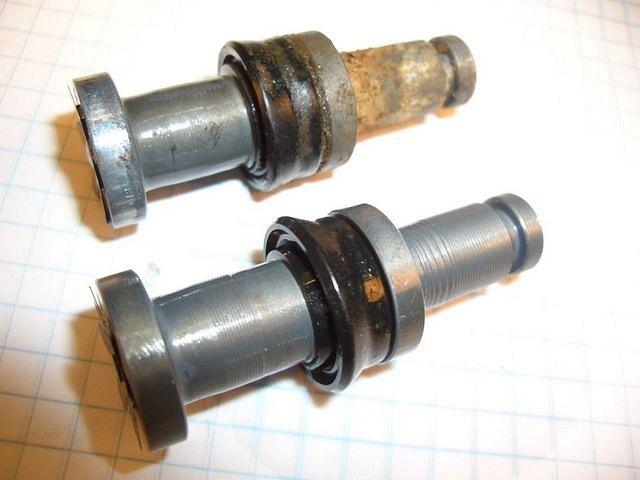
here we have old parts/new parts
check valve goes on spring (only 75-77 models)

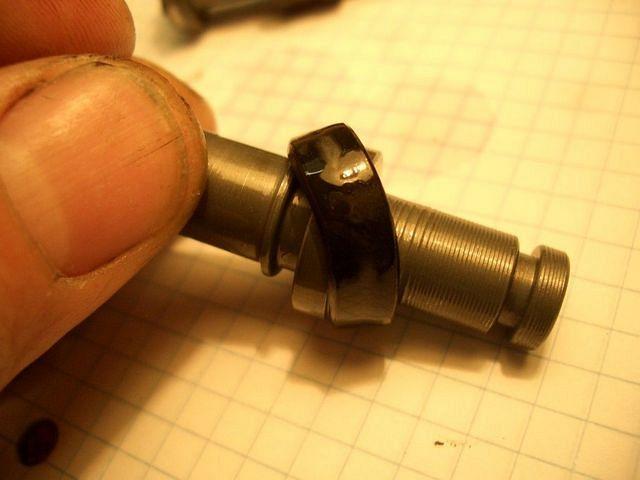
you'll have to mount the secondary cup on the piston.
Compare to the old piston

and be really really really carefull when you slide it on.
Use a bit of brake fluid to help it along, and remember
ONLY brakefluid, NO oil/grease or anything goes!!!
squeeze it
and be absolutely sure you get it right
...NOT like this

but like this

check it up agains the old one
now for the rest of it

NOTE the primary cup goes in THIS WAY

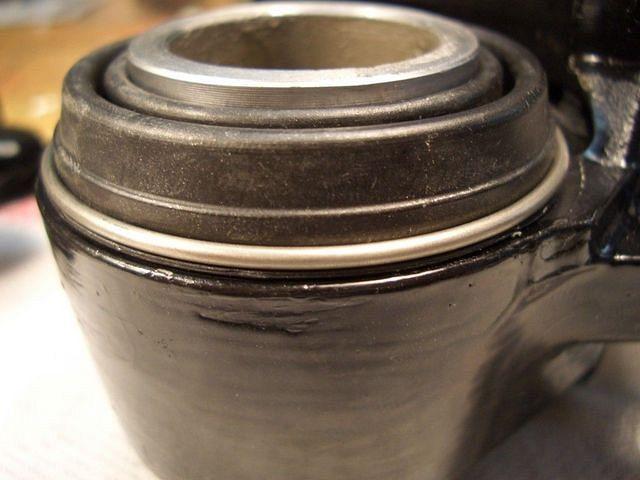
now check the reservoir O-ring and the grove that holds it.
The o-ring is normally not part of the rebuild-set but it's available
as parts# 45516-371-003 or if you have a good O-ring supplyer
yol'll ask for a 45 x 2,4 mm

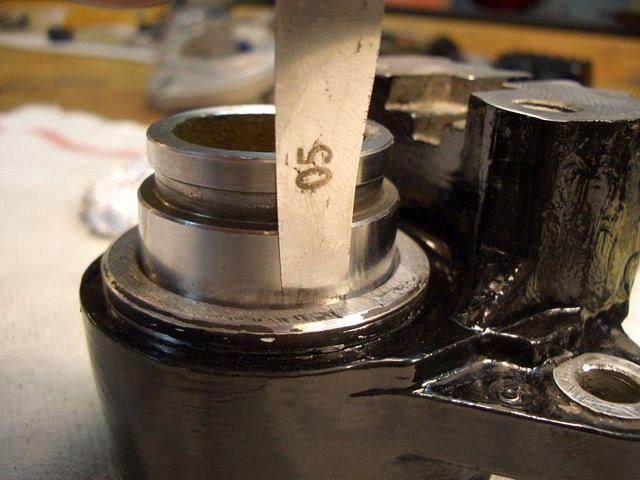
now take a good long look down the cylinder.
Check for dirt, scratches etc.
You really should check to see if the bore diameter
is inside service limit witch is 17.515 mm
(more on that later)

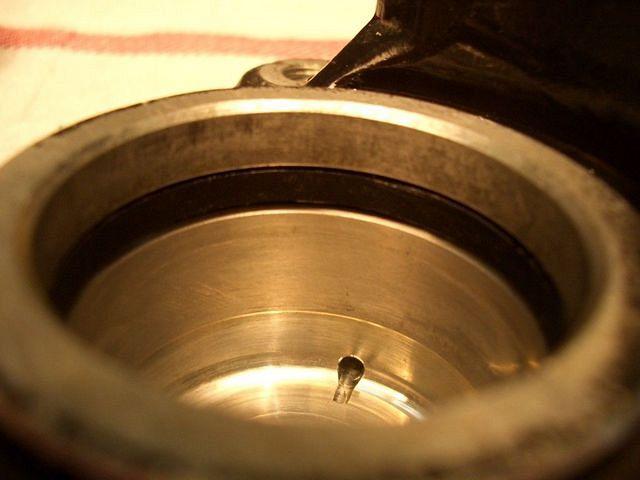
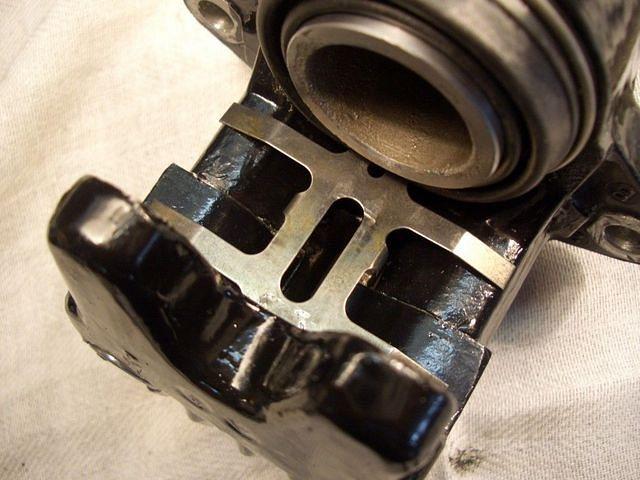
in the bottom of that LEFT recess there is tiny tiny hole,
(can't really see it in the photo)
that you need to check to see if it is blocked


one way of doing that is to block that hole on the right of the above photo
and then light down like this
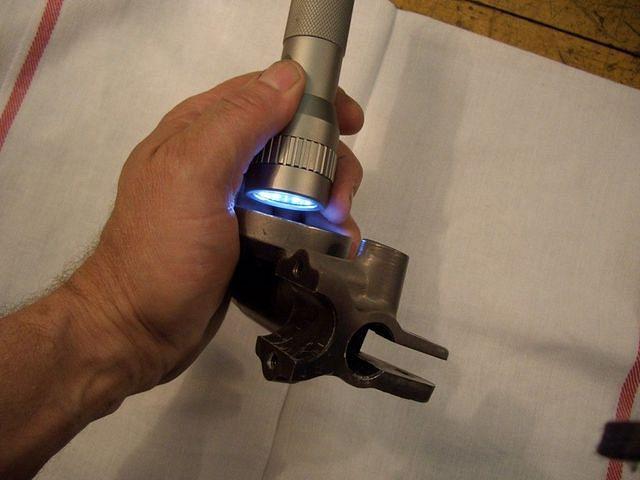
and by looking into the cylnder you can see if the hole is 'clear'.
Yeah, it's that small blue blurry dot. (I couldn't keep the camera still)

...more later


 "NO NO NO you do not want to use abrasive paper !!!!!" The bore wall is quite 'soft' and the last thing you want to do is to